- Accessing the Classlist
- Filtering the Classlist
- Sorting the Classlist by Group
- Enrolling Users in a Course
- Emailing your Classlist
- Setting Accommodations from the Classlist
- Viewing Accommodations in the Classlist
- Exporting your Class List
- Viewing Class Progress
- Viewing Enrollment Statistics and Withdrawals
- Viewing Class Engagement
![]() The Classlist tool provides a list of course participants and their roles in your course (Student, TA, Instructor, etc.) and is the central area for managing course participants in D2L Brightspace. From the Classlist, you can view a user’s email address, role, and last accessed date, as well as which users are currently logged into Brightspace. You can also enroll new users to your course, send emails, set quiz accommodations, view class progress, and more.
The Classlist tool provides a list of course participants and their roles in your course (Student, TA, Instructor, etc.) and is the central area for managing course participants in D2L Brightspace. From the Classlist, you can view a user’s email address, role, and last accessed date, as well as which users are currently logged into Brightspace. You can also enroll new users to your course, send emails, set quiz accommodations, view class progress, and more.

NOTE: The Classlist is only visible to Instructors and TAs. Students do not have access to the Classlist unless the instructor requests to add the Classlist link to the Tools menu in the course navbar. For more information, see Understanding Brightspace Navbars. To submit a support request, visit the TLS Support Portal.
Accessing the Classlist
- Log into Brightspace with your MyCarletonOne credentials.
- On the Brightspace homepage, locate your course in one of the following ways:
- Select the course tile under the My Courses widget.
- Select the Course Selector Grid
 and select the course from the drop-down menu. If you are enrolled in more than 20 courses, you can search for the course name using the search bar.
- In the navbar, select Course Admin.

- Under Learner Management, select Classlist.
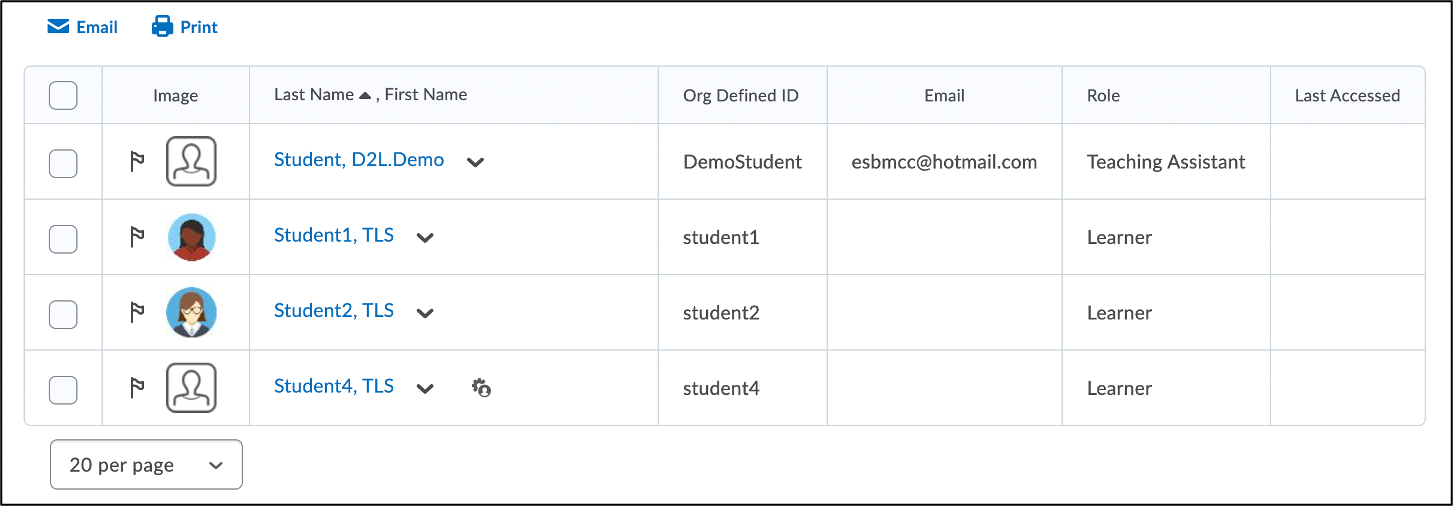
You will now see a table that lists all enrolled participants in your course at the bottom of your Classlist page. You have the option to filter your Classlist, or search for a specific user in the search field. Course participants who are currently logged into Brightspace will appear with a green dot ![]() beside their names. In the Classlist table, you can also view a user’s email, role, and last accessed date.
beside their names. In the Classlist table, you can also view a user’s email, role, and last accessed date.
Filtering the Classlist
- Navigate to your Classlist by following the Accessing the Classlist instructions above.
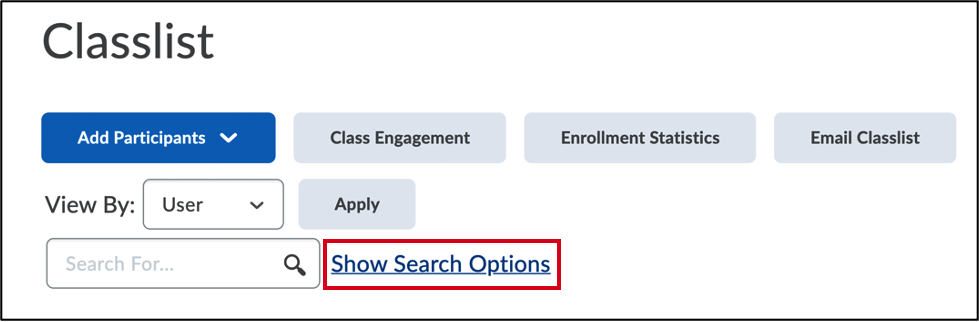
- Select Show Search Options beside the search field.
- You will now see an expanded list of search options. Select any of the options below (from D2L’s How to Search for Users in the Classlist):
- Search In:
- First name: Search only through users’ first names.
- Last name: Search only through users’ last names.
- Email > Search only through users’ email addresses.
- Org Defined ID > Search only through users’ Org Defined IDs.
- Username > Search only through users’ usernames.
- Search Type:
- Contains: when searching, this will provide results that contain what text is being searched.
- Starts with: when searching, this will only provide results starting with the text that is being searched.
- Exact match: when searching, this will only provide results where the text matches the text being searched.
- Role: Used to only search for users with the selected role (ie. TAs).
- Flagged: Used to only search for users that are flagged or unflagged.
- Accommodations: Used to only view users who have accommodations.
- Online Status: Used to search for users who are currently online or offline.
- Last Accessed: Choose dates to search for when users last accessed the course (i.e. view all users who accessed the course yesterday).
- Search In:
- Scroll back to the search field and select the magnifying glass icon
 to search the Classlist.
You will now see your filtered search results listed at the bottom of your Classlist page.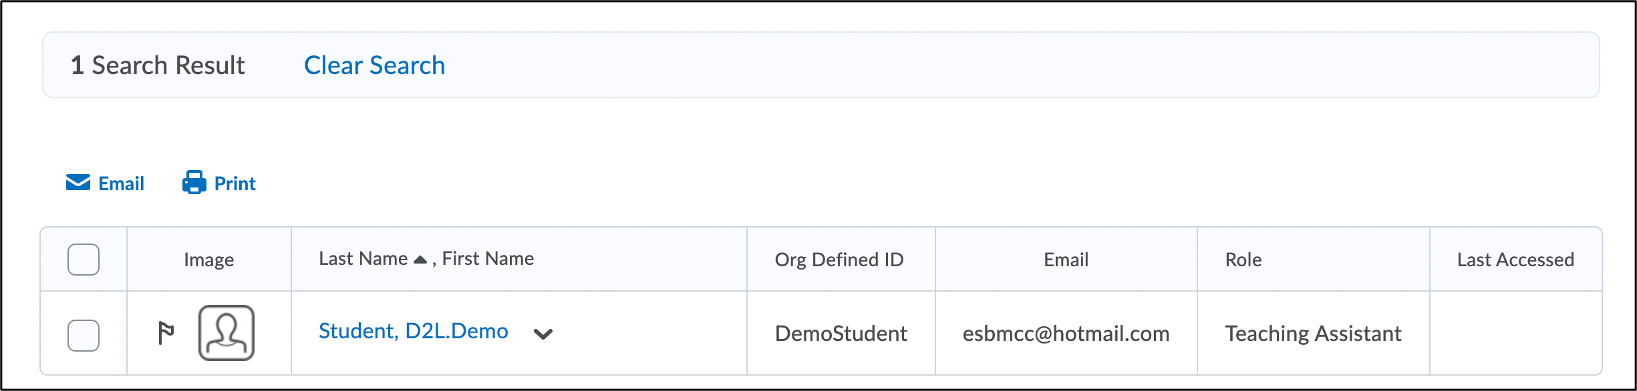
TIP: To return to the list of all users in the Classlist, select Clear Search to clear the accommodations filter.
Sorting the Classlist by Group
- Navigate to your Classlist by following the Accessing the Classlist instructions above.
- Select the View By drop-down menu.
- Select Groups.
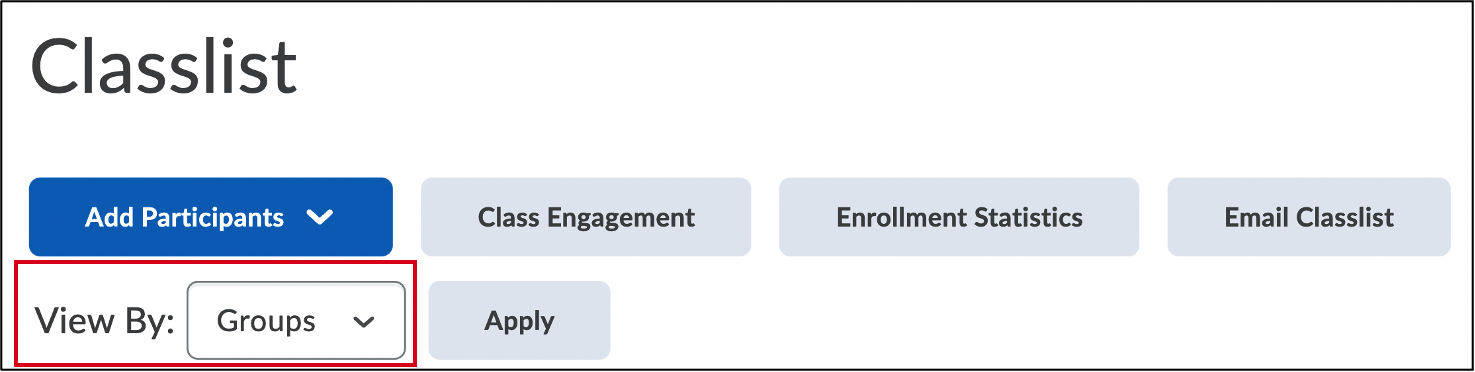
- Select Apply.
- Select the group you would like to view from the Groups drop-down menu.
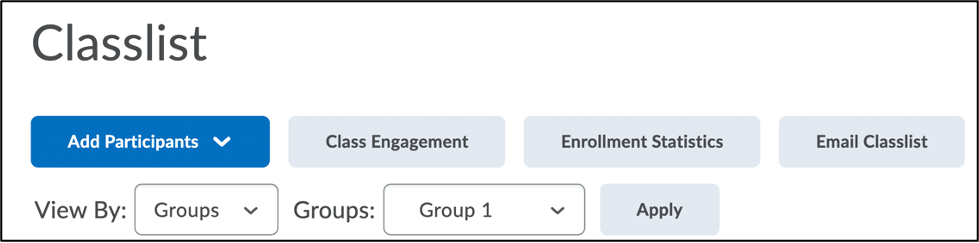
- Select Apply.
You will now see your selected group listed at the bottom of your Classlist page.
Enrolling Users in a Course
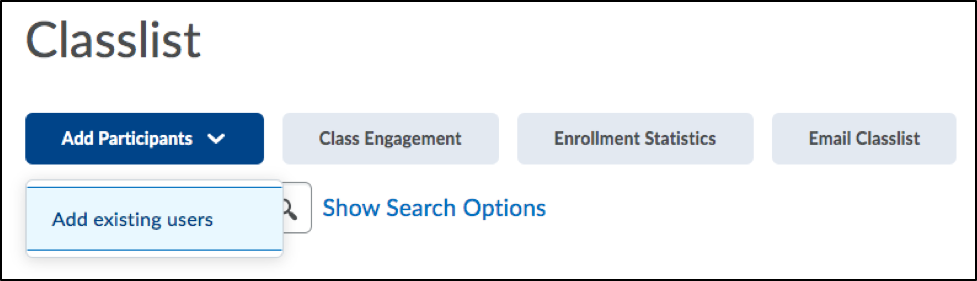
You can enroll users to your course using the Add Participants button in your Classlist.
NOTE: The Classlist will be automatically imported into Brightspace through Banner enrollments. Teaching Assistants must be manually enrolled to have course access. To enroll a TA or second instructor to a course, follow the Enroll a User instructions.
**If you need to unenroll a user, please submit a support request through the TLS support portal. Instructors do not have permission to remove users from their classlist.**
Emailing your Classlist
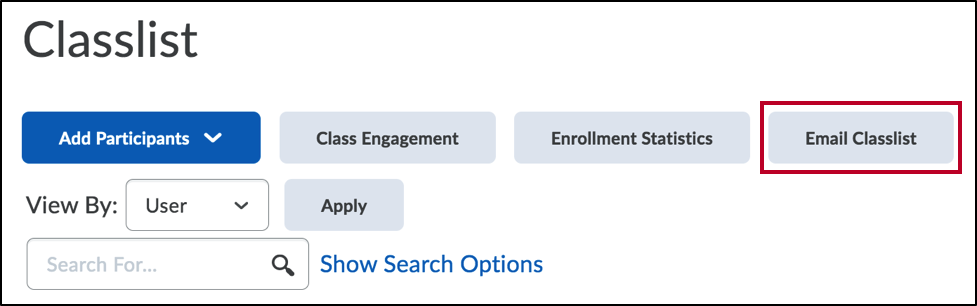
The Brightspace email tool allows you to send emails from within your Brightspace course. Emails can be sent from the Classlist before the course start date and after the course end date. You can email your entire class list, or you can email a student or TA individually.
- How to Email your Classlist – Compose an email to all participants enrolled in your course, including instructors, TAs, designers, and other users.
- How to Email an Individual Student – Compose an email to an individual student or subset of students enrolled in your course.

NOTE: Brightspace emails can only be received and accessed through your Carleton email via the MyCarleton Portal. There is no email inbox within Brightspace itself. Carleton delivers email for faculty, students, and staff using the Microsoft Office 365 suite. For help accessing your Carleton email or Microsoft Office 365, contact the ITS Service Desk.
Setting Accommodations from the Classlist
See the Setting Accommodations in Brightspace page for instructions.
NOTE: Accommodations are indicated with an accommodation icon next to the student’s name in the Classlist.
Viewing Accommodations in the Classlist
See Filtering your Classlist to View Students with Course Level Accommodations.
Exporting your Class List
See the Exporting a Class List page for instructions.
Viewing Class Progress
From the Classlist, you can access a progress summary for each student in your course. For more information on the Class Progress tool in Brightspace, see the Viewing Class Progress page.
To view Class Progress for a student in the Classlist:
- Navigate to your Classlist by following the Accessing the Classlist instructions above.
- Select the arrow next to a students name in the list.
- Select View Progress from the drop-down menu.

- You will be taken to the Progress Summary screen. Select a tool name or category in the left menu to jump to a summary section. For example, the discussion section displays a student’s activity in each forum and topic. Alternatively, scroll down the page and select the drop-down arrow
 to expand a summary under a particular tool or category heading.
Viewing Enrollment Statistics and Withdrawals
- Navigate to your Classlist by following the Accessing the Classlist instructions above.
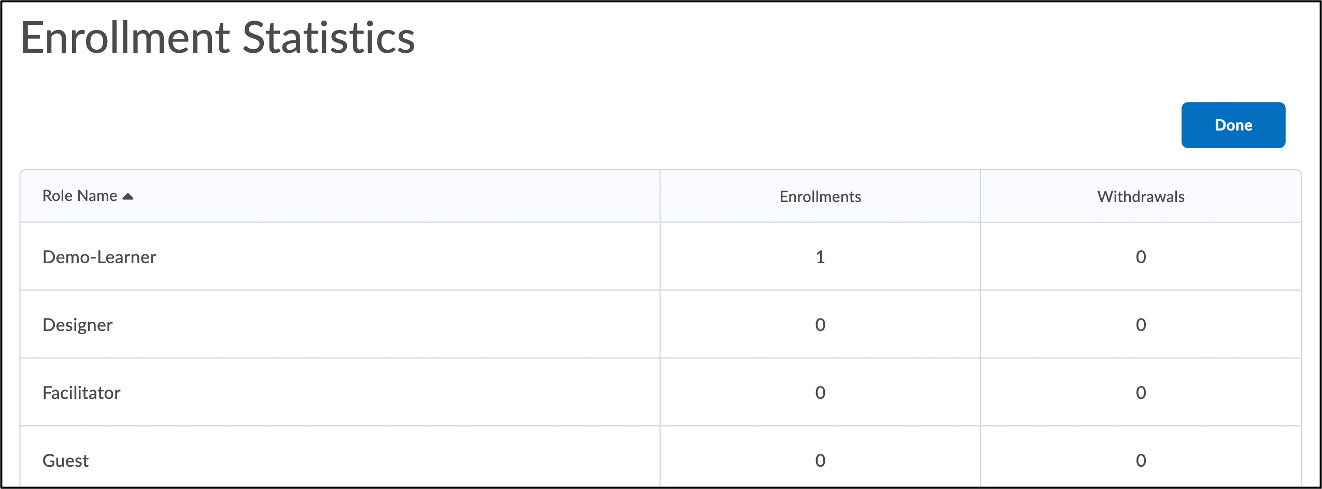
- Select the Enrollment Statistics button.
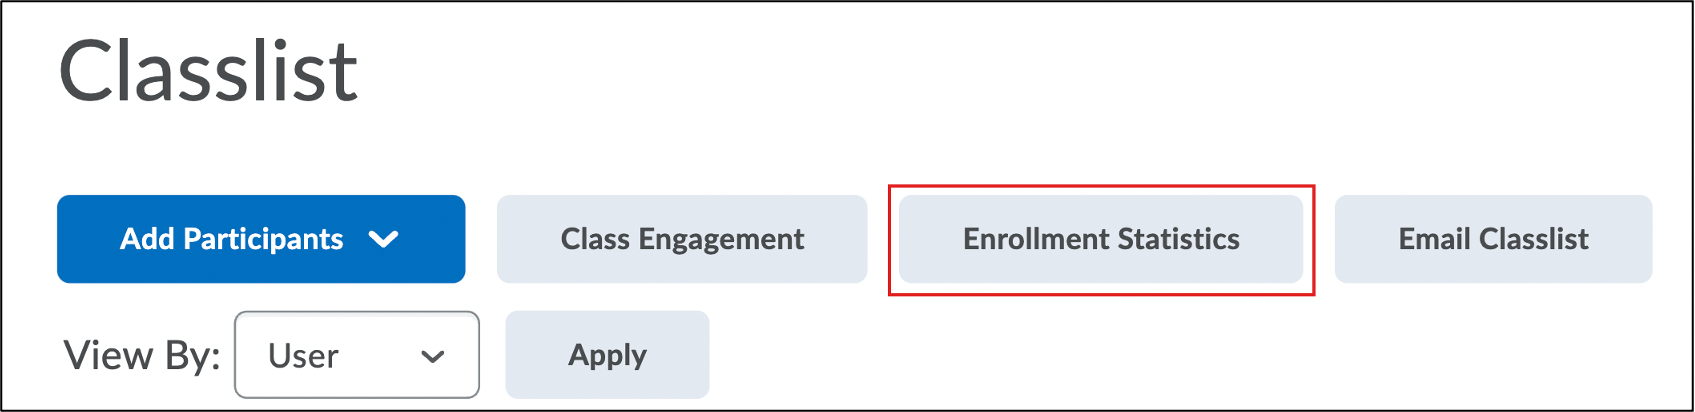
- You will see a table displaying the number of Enrollments and Withdrawals in your course for each role type (i.e. Teaching Assistant, Designer).
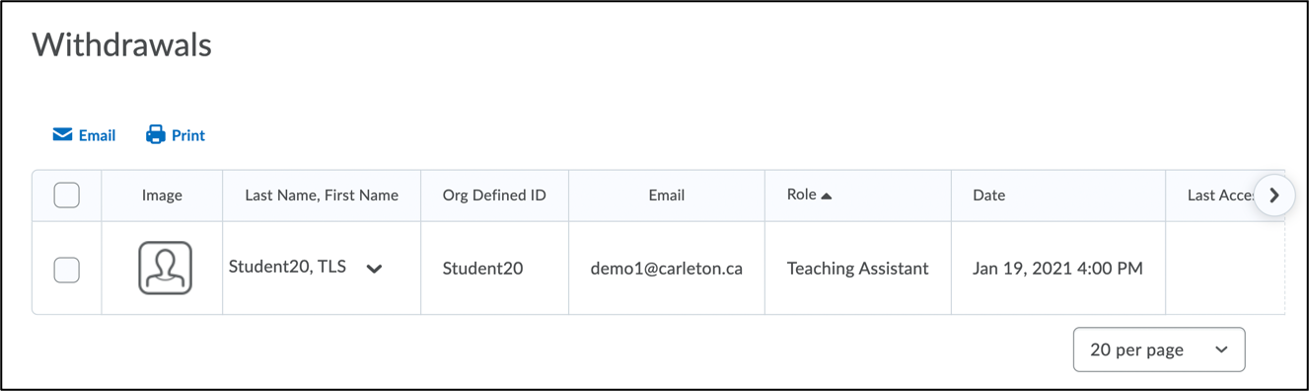
- Under Withdrawals, you will see a list of all participants who have been unenrolled from your course.
Viewing Class Engagement
Class Engagement is an insights-based tool with an intuitive interface that provides a consolidated view of activity, progress, and achievement in a course. For more information about the Class Engagement tool, see D2L’s Class Engagement Interface Overview.
- Navigate to your Classlist by following the Accessing the Classlist instructions above.
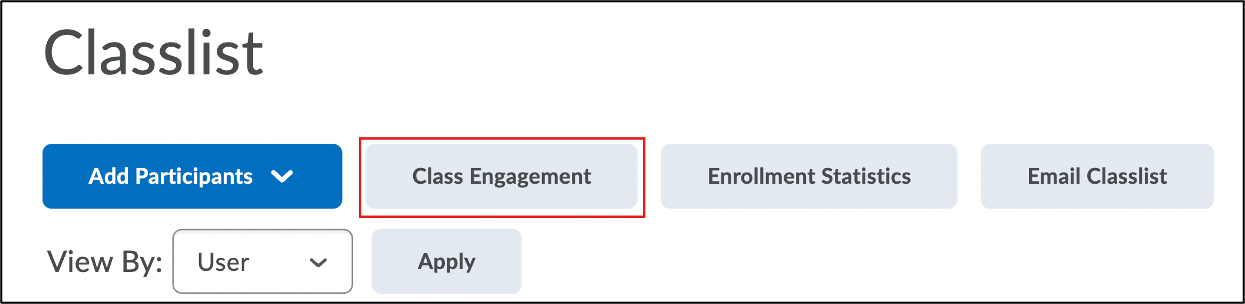
- Select the Class Engagement button.
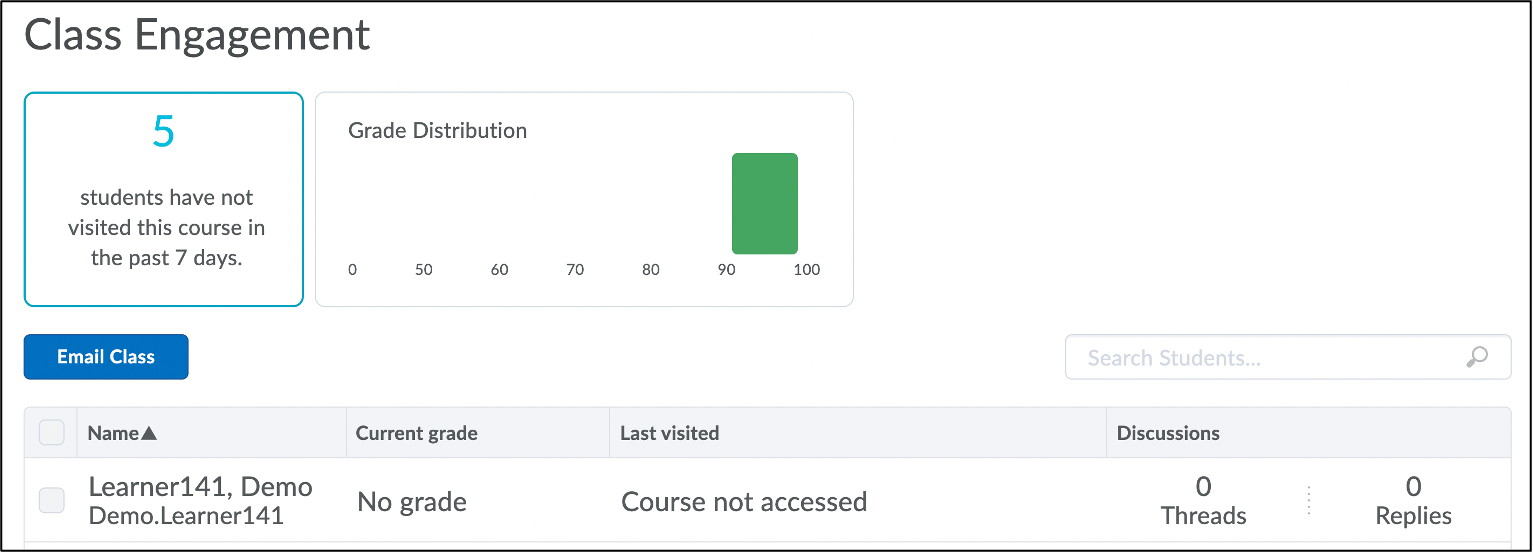
- You will be taken to the Class Engagement tool. The tool contains filtering, sorting, and searching capabilities, allowing you to easily identify top performers and at-risk students.
Was this page helpful?
4 people found this useful
Still need help? Contact us