Instructors and TAs may want to export their D2L Brightspace classlist to record notes, to take attendance, or to organize grading outside of the learning management system. Exporting a Brightspace classlist is quick and simple. A class list can be exported to either .csv or Excel file formats. In Brightspace, a full list of students in the course can be exported via the Grades tool. Instructors are also able to download a full list of registered students directly from Carleton Central.
| NOTE: There is no way to export a class list from the Classlist tool itself in Brightspace. The Grades tool is the only option within Brightspace for exporting the Classlist. |
To Export a Course Classlist
- Log into Brightspace using your MyCarletonOne credentials.
- On the Brightspace homepage, locate your course in one of the following ways:
- Select the course tile under the My Courses widget.
- Select the Course Selector Grid
 and select the course from the drop-down menu. If you are enrolled in more than 20 courses, you can search for the course name using the search bar.
- In the navbar, select Progress.
- In the drop-down menu, select Grades.
- Select the Enter grades tab.

- Select Export.
- Configure the export options:
- Export Grade Items for: Select All Users from the drop-down menu. You can also select Groups and choose a specific group to export.
- Key Field: Org Defined ID is selected by default, meaning that the export will identify students by their Carleton Student ID. You can select username, or both to customize the export.
- Grade Values: Deselect grade values, unless you also want the grades included. Points grade is selected by default.
- User Details: Select any additional identification options you want to include in the export.
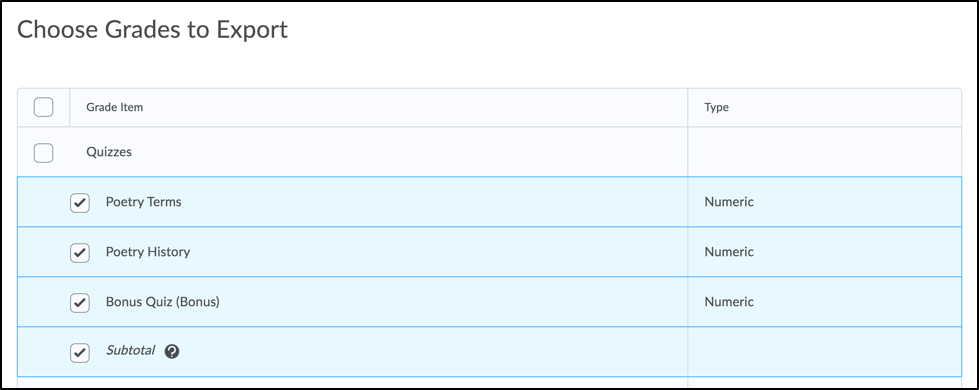
- Scroll down to Choose Grades to Export, then select or deselect the grade items you want to export.
- Select Export to CSV or Export to Excel as your file download option.
- When the export is complete, select Download.
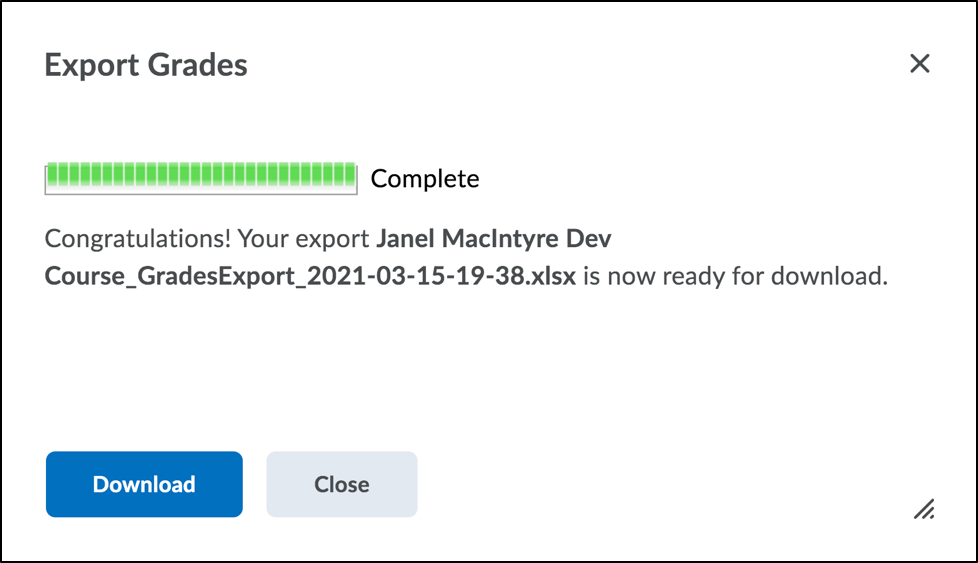
- You will now be able to open the exported file on your computer. Files can download to different locations on your computer, depending on your settings. A good first place to look is in your Downloads folder.
Was this page helpful?
4079
11bdab693f
19 people found this useful
Still need help? Contact us