We recommend clearing your cache if you are experiencing issues accessing or uploading content in D2L Brightspace. When you use a browser, like Chrome or Safari, it stores information in its cache and cookies. Clearing the cache can help with certain browser issues, such as loading or accessing content, formatting, or login issues on sites.
Choose your Browser
Latest versions of the following browsers are supported for Brightspace:
Google Chrome
- On your computer, open Chrome.
- At the top right, select More (three vertical dots).
- Select More Tools from the drop-down menu.
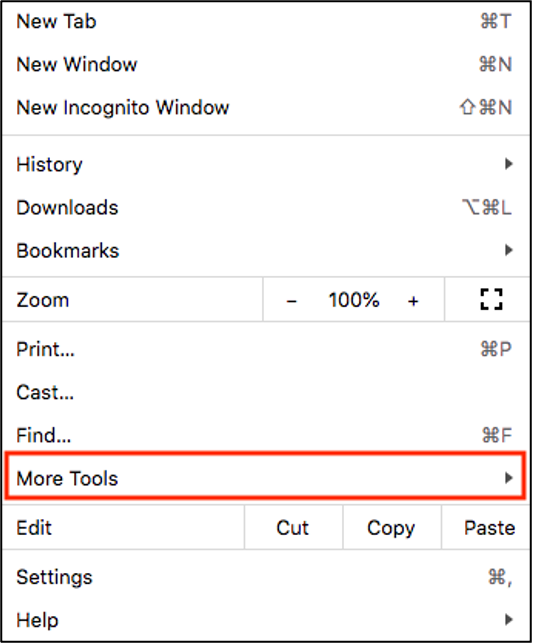
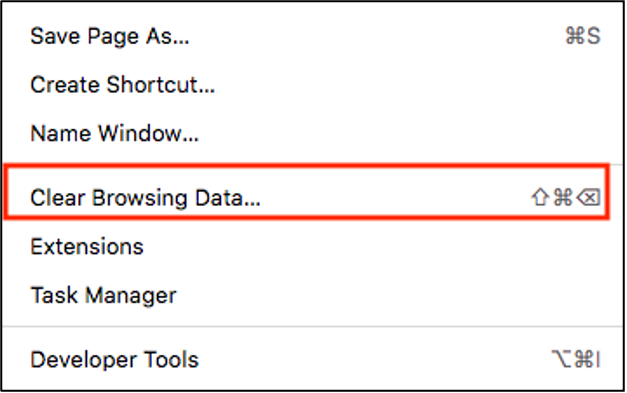
- Select Clear Browsing Data… from the drop-down menu. A new window will open.
- At the top, select the drop-down menu to choose a time range. To delete the entire history and cache, select All time.
- Check the boxes for Cookies and other site data and Cached images and files.
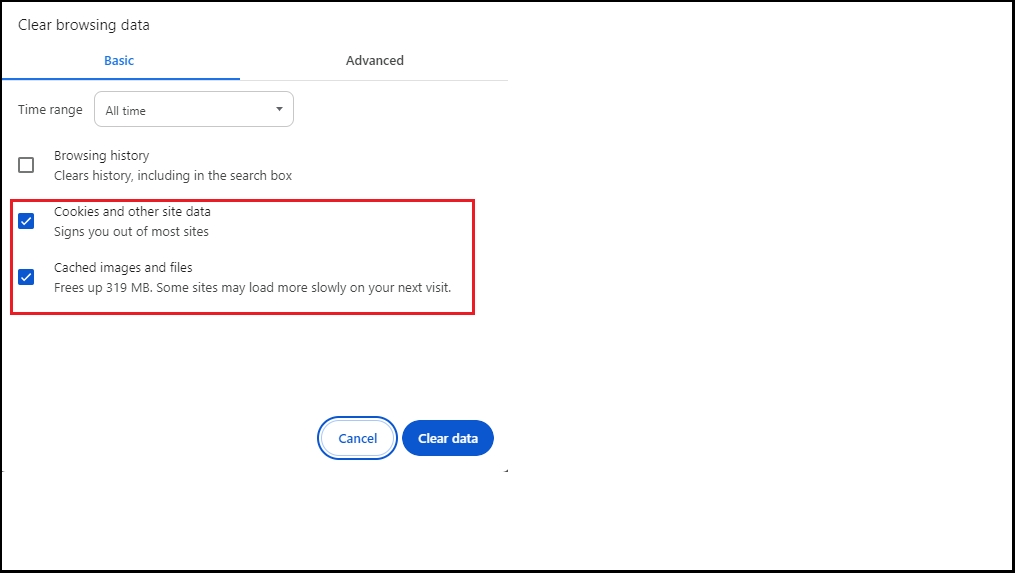
- Select Clear data.
You have now cleared your Chrome browser cache.
Mozilla Firefox
- On your computer, open Mozilla Firefox.
- Select the Library button
 on your toolbar. If you do not see it there, select the menu button
  , then select Library.
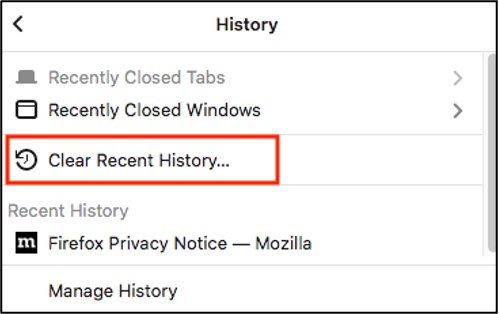
 - Select History from the drop-down menu.
- Select Clear Recent History…
- At the top, select the drop-down menu next to “Time range to clear” to select how much of your Firefox history to clear. To delete the entire history and cache, select Everything.
- Select the checkboxes next to “Cache”. For more information on what each of these options includes see: What is included in my history?
- Select OK.
You have now cleared your Mozilla Firefox browser cache.
Automatically Clear the Cache
With Mozilla Firefox you can set up your computer to automatically clear the cache everytime Firefox closes.
- On your computer, open Mozilla Firefox.
- In the Menu bar at the top of the screen, select Firefox.
- Select Preferences from the drop-down menu.
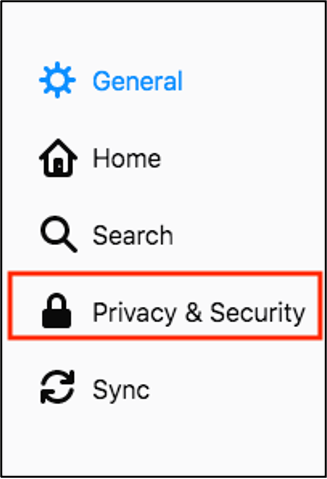
- Select the Privacy and Security.
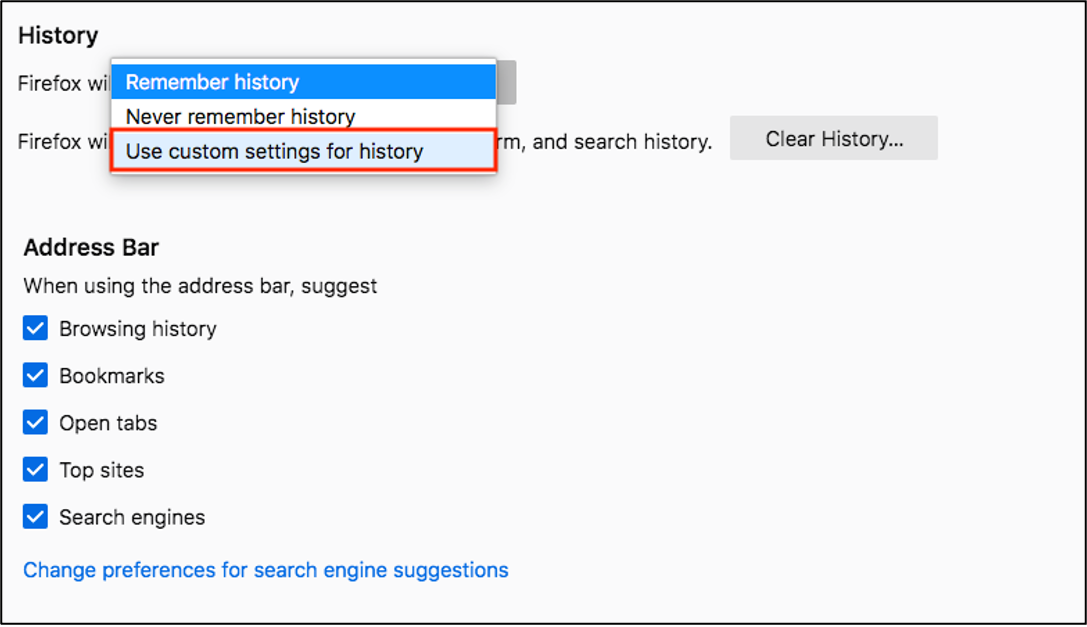
- Scroll down to the “History” section. In the drop-down menu next to Firefox, choose Use custom settings for history.
- Check the box next to “Clear history when Firefox closes”.
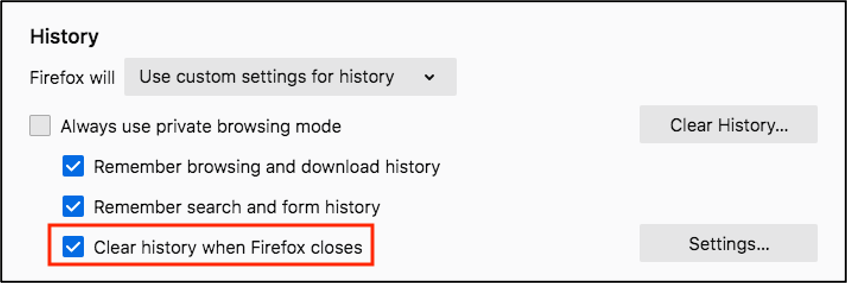
- To specify what types of history should be cleared, select the Settings…button next to “Clear history when Firefox closes”. To delete the entire history and cache, select Everything.
- In the Settings for Clearing History, check the items that you want to have cleared automatically each time you quit Firefox.
- After selecting the history to be cleared, select OK to close the Settings for Clearing History pop-up.
- Close the about:preferences page. Any changes you have made will automatically be saved.
You have now set your Mozilla Firefox browser to clear the cache automatically when Firefox closes.
Microsoft Edge
- On your computer, open Microsoft Edge.
- At the top right, select Select Settings and more
 (three horizontal dots).
 - Select Settings from the drop-down menu.
- Under the Settings sidebar, select Privacy, Search and Services.
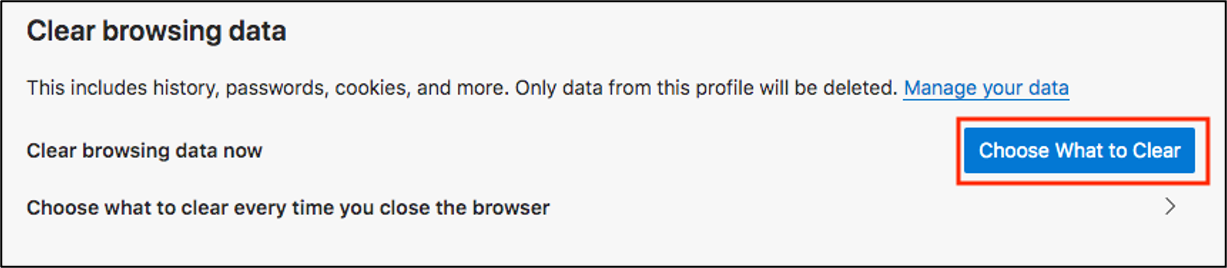
- To the right of “Clear browsing data now”, select Choose What to Clear.
- From the Time range list, select how far back Microsoft Edge should empty the cache. To empty the entire cache, select All Time.
- In Clear browsing data, select the check box for “Cookies and other site data” and “Cached images and files”. You can select any of the other options as well that you want to clear.
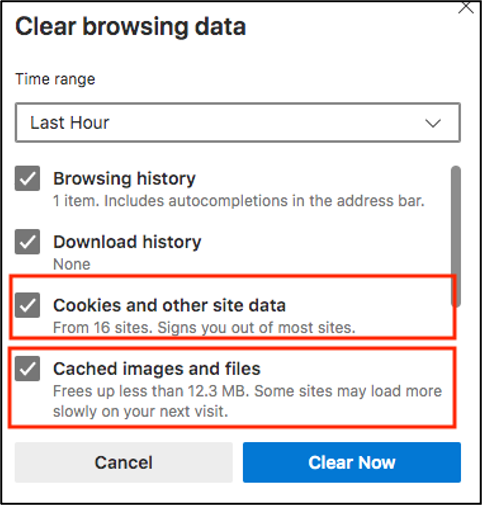
- Select Clear now.
You have now cleared your Microsoft Edge browser cache.
Automatically Clear the Cache
With Microsoft Edge you can set up your computer to automatically clear the cache every time Microsoft Edge closes.
- On your computer, open Microsoft Edge.
- At the top right select Select Settings and more (three horizontal dots).
- Select Settings from the drop-down menu.
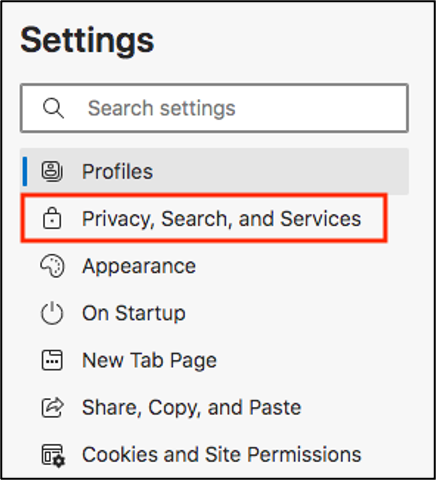
- Under the Settings sidebar, select Privacy and Services.

- Under “Clear browsing data”, select Choose what to clear every time you close the browser.
- In “Clear browsing data on close”, select the option beside each cache you want to clear when you close a browser window.
- Close the Settings tab in Microsoft Edge. Your changes will be saved automatically.
You have now set your Microsoft Edge browser to clear the cache automatically when Microsoft Edge closes.
Safari (Mac)
- On your Mac computer, open Safari.
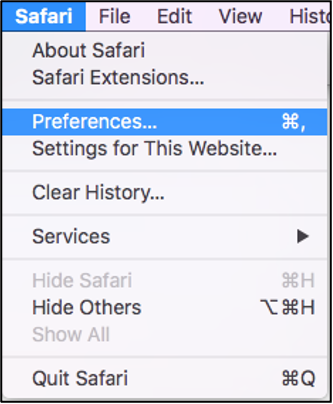
- At the top left of the screen, select Safari.
- Select Preferences from the drop-down menu.
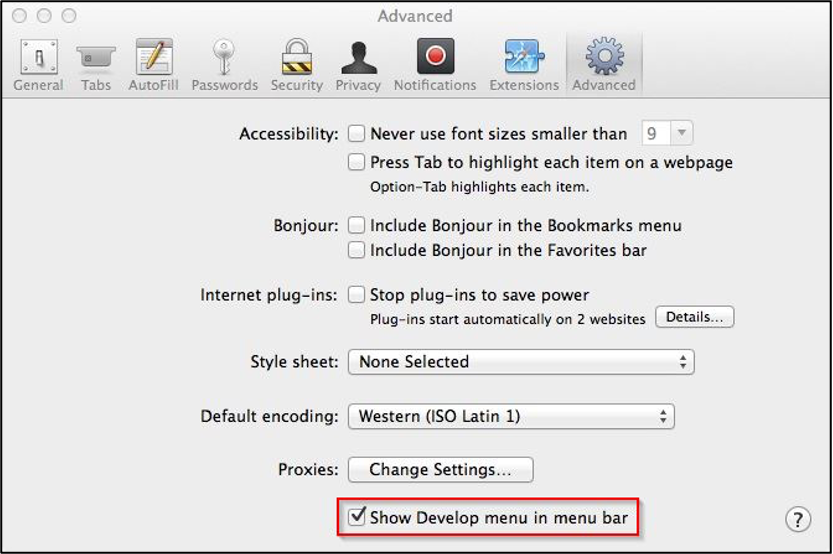
- Select Advanced (gear icon).
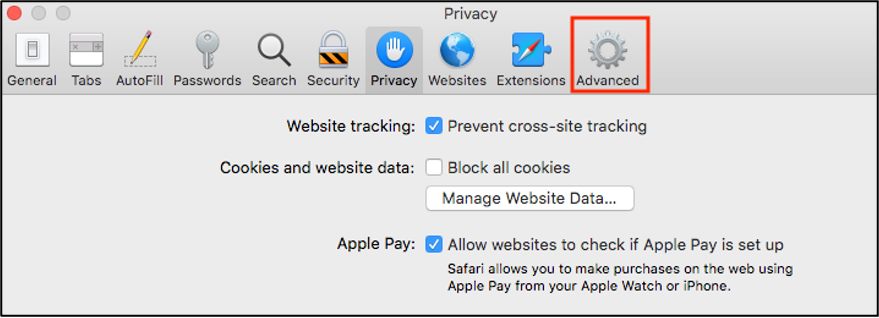
- Select the box next to “Show Develop menu in menu bar”.
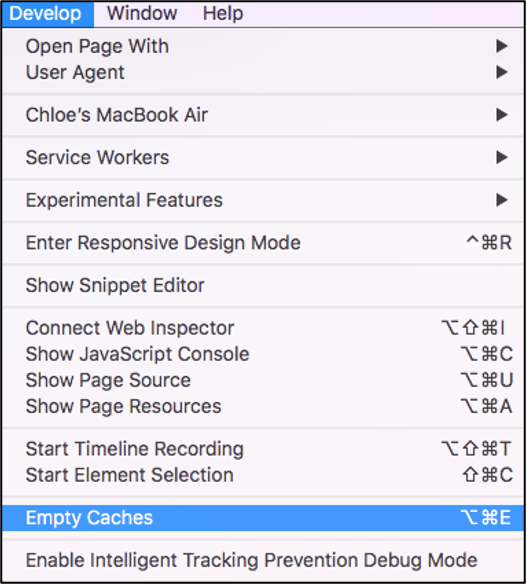
- The Develop menu has now been enabled. From the menu bar at the top, select Develop.

- Select Empty Caches from the drop-down menu.
You have now cleared your Safari browser cache.
Clear Cache, Cookies and History
With Safari you can also choose to clear your cache, cookies, and history. This will clear everything where as the instructions above will only clear your cache.
- On your Mac computer, open Safari.
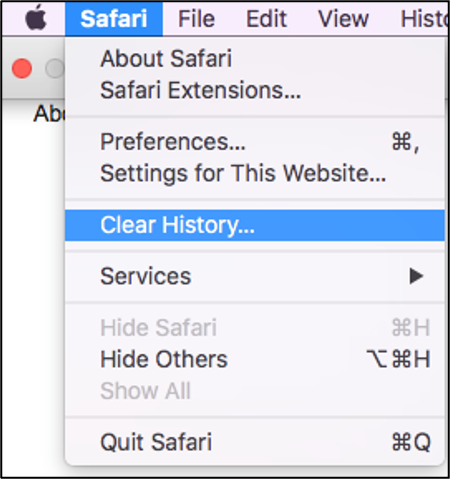
- At the top left of the screen, select Safari.
- Select Clear History… from the drop-down menu.
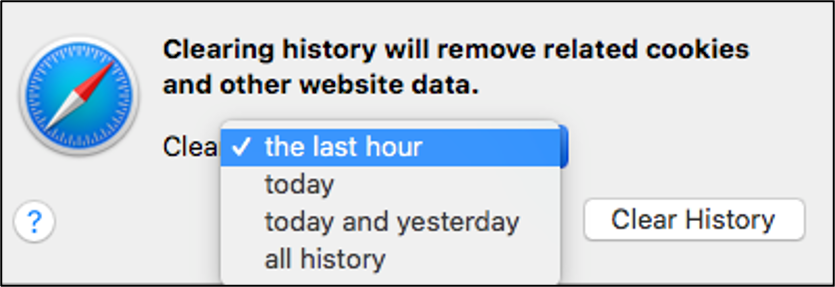
- In the pop-up window, select a time frame for how far back to erase. To clear the entire cache, select all history.
You have now cleared your Safari browser cache, cookies and history.
Was this page helpful?
4 people found this useful
Still need help? Contact us