Rubrics are evaluation grids with rows of grading criteria arranged into achievement levels. In D2L Brightspace, assessments and rubrics can be built separately in the Course Admin panel and then attached to activities, or a rubric can be created within the assessment directly.
Rubrics are excellent tools to help ensure that grading is consistent and clear across multiple graders in a course. Rubrics also help students understand the grading criteria and achievement expectations.
There are two types of rubrics:
- Analytic rubrics use multiple criteria and allow for feedback at each criterion level. Analytic rubrics make the most sense when different assessment categories are important. Analytic rubrics can be scored using text, points, and custom points. When you create a rubric, the default is that it will be an Analytic rubric. Review the video tutorial of how to create an analytic rubric.
- Holistic rubrics use a single criterion with defined levels of achievement. Holistic rubrics are best used to evaluate overall performance. Holistic rubrics use percentages and text scores. Review the video tutorial of how to create a holistic rubric.
Rubrics can be created when you are initially creating and assignment or they can be added after the assignment has been created. To view sample rubrics, see the ePortfolio Grading Rubrics page.
Rubrics can be used in multiple places within Brightspace:
| Tool | Can a rubric be attached? | Does feedback transfer to the Grade Book? |
| Assignments | Yes | Yes |
| Quizzes | No | N/A |
| Surveys | No | N/A |
| Grades | Yes | Yes |
| Discussions | Yes | Yes |
| Self-Assessments | No | No |
Setting up Rubrics
Creating a Rubric
- Log into Brightspace using your MyCarletonOne credentials.
- On the Brightspace homepage, locate your course in one of the following ways:
-
- Select the course tile under the My Courses widget.
- Select the Course Selector Grid
 and select the course from the drop-down menu. If you are enrolled in more than 20 courses, you can search for the course name using the search bar.
-
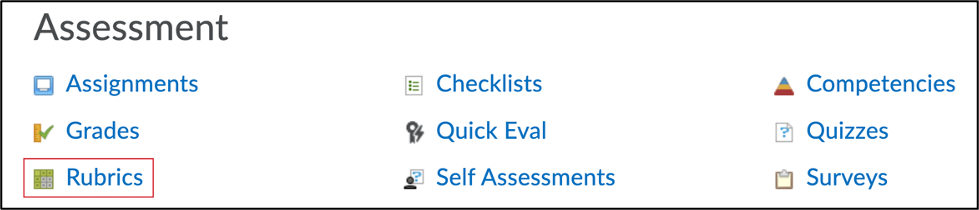
- In the navbar, select Course Admin.

- Under Assessment, select Rubrics.
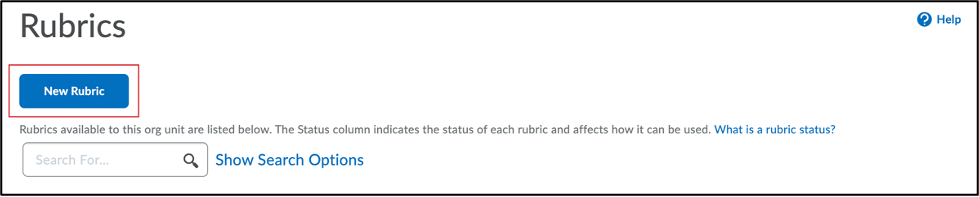
- Select New Rubric.
- Enter a rubric name.
- Select Type: Analytic, then select a rubric type (Analytic or Holistic).
- Select Scoring: Points, then select a scoring type for the rubric
- Select the Criterion to customize the criterion name.
- Select to the right of Criterion 1 to enter a description for each of the rubric levels.
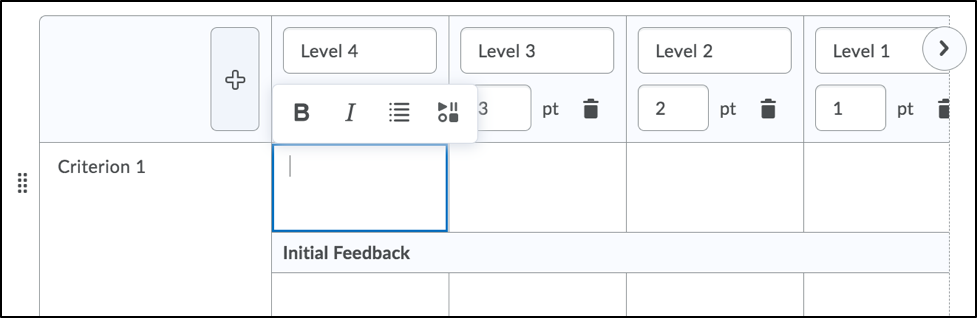
- Select Level (Level 4. Level 3, etc.) to customize the name of each achievement level.
TIP: Select the + icon to add a new level or the trash icon to delete a level.
- Select the pt values below each level (1, 2, 3, 4) to customize the point value.
- Go down to the Overall Score table and adjust as needed, or leave the default as is, depending on your needs. For each level, enter how many points a student needs to achieve to accomplish that level.
- Select Options to expand the settings for rubric visibility and other customizable settings.
- Close the window when you are finished. The new rubric will now be available under Course Admin > Rubrics.
NOTE: The rubric saves automatically as you input information, so there is no Save button.
Attaching an Existing Rubric to an Assignment
- Log into Brightspace using your MyCarletonOne credentials.
- On the Brightspace homepage, locate your course in one of the following ways:
-
- Select the course tile under the My Courses widget.
- Select the Course Selector Grid and select the course from the drop-down menu. If you are enrolled in more than 20 courses, you can search for the course name using the search bar.
-
- In the navbar, select Tools.

- Select Assignments from the drop-down menu.
- Select the arrow
 next to the assignment you wish to attach a rubric to.
 - Select Edit from the drop-down menu.
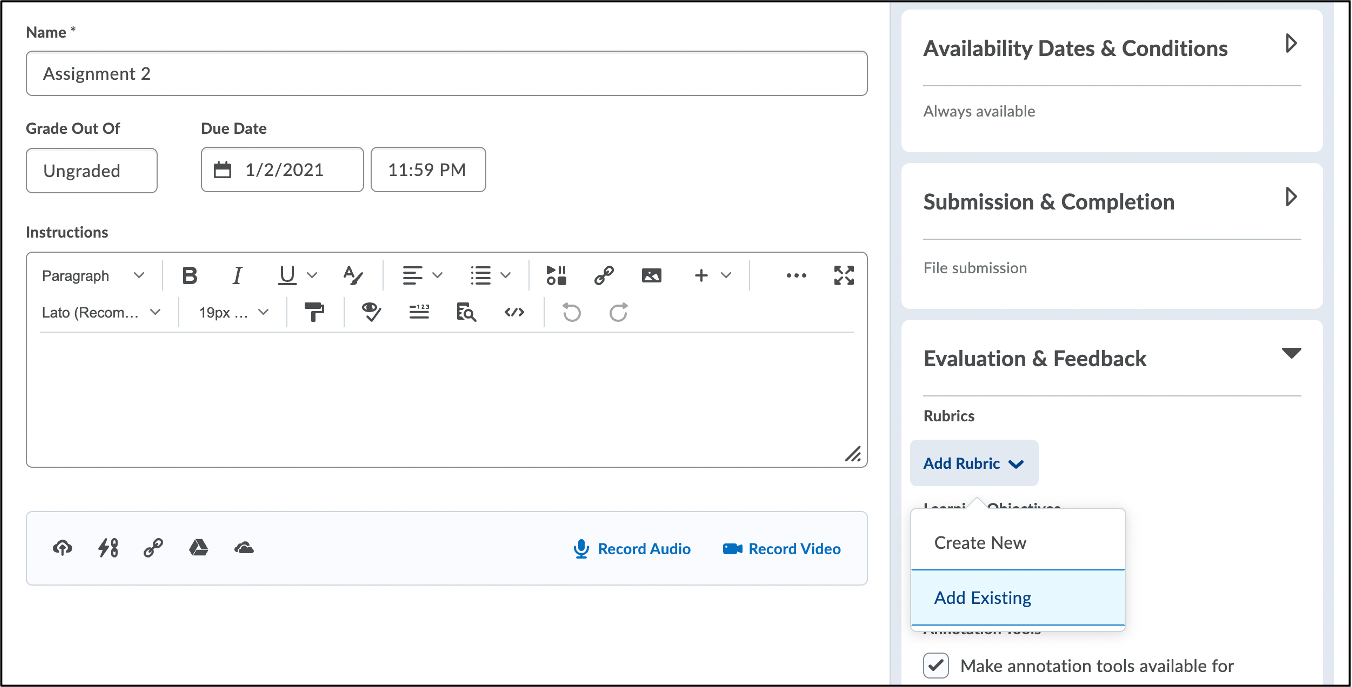
- Select Evaluation & Feedback in the side panel.
- Select Add Existing to choose a pre-made rubric.
- In the Add Existing pop-up window, select the checkbox beside the rubric you wish to attach to the assignment.
- Select Add selected. Your rubric will now appear under Rubrics.
- Select Save and close at the bottom of the page. The rubric will now be attached to the assignment.
Attaching an Existing Rubric to a Discussion
- Log into Brightspace using your MyCarletonOne credentials.
- On the Brightspace homepage, locate your course in one of the following ways:
-
- Select the course tile under the My Courses widget.
- Select the Course Selector Grid and select the course from the drop-down menu. If you are enrolled in more than 20 courses, you can search for the course name using the search bar.
-
- In the navbar, select Tools.
- Select Discussions from the drop-down menu.
- Select the arrow next to the discussion topic you wish to attach a rubric to.
- Select Edit Topic from the drop-down menu.
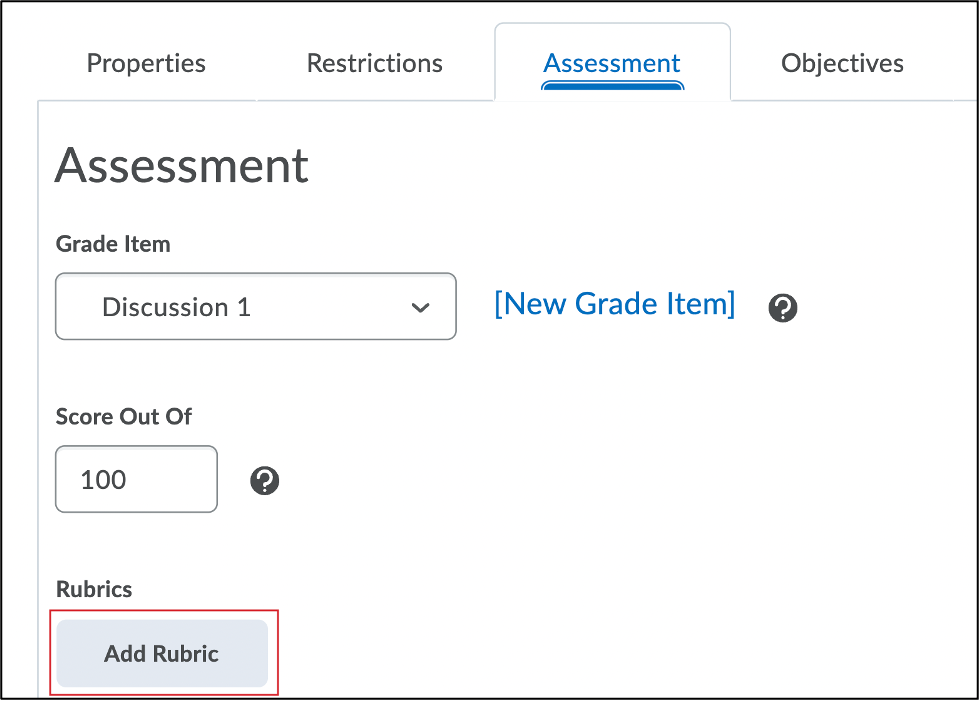
- Select the Assessment tab.
- Select Add Rubric.
- Select the checkbox next to the rubric you want to attach.
- Select Add Selected. Your rubric will now appear under Rubrics.
- Select Save and close at the bottom of the page. The rubric will now be attached to the discussion.
Creating a Rubric in an Assignment
- Log into Brightspace using your MyCarletonOne credentials.
- On the Brightspace homepage, locate your course in one of the following ways:
-
- Select the course tile under the My Courses widget.
- Select the Course Selector Grid and select the course from the drop-down menu. If you are enrolled in more than 20 courses, you can search for the course name using the search bar.
-
- In the navbar, select Tools.
- Select Assignments from the drop-down menu.
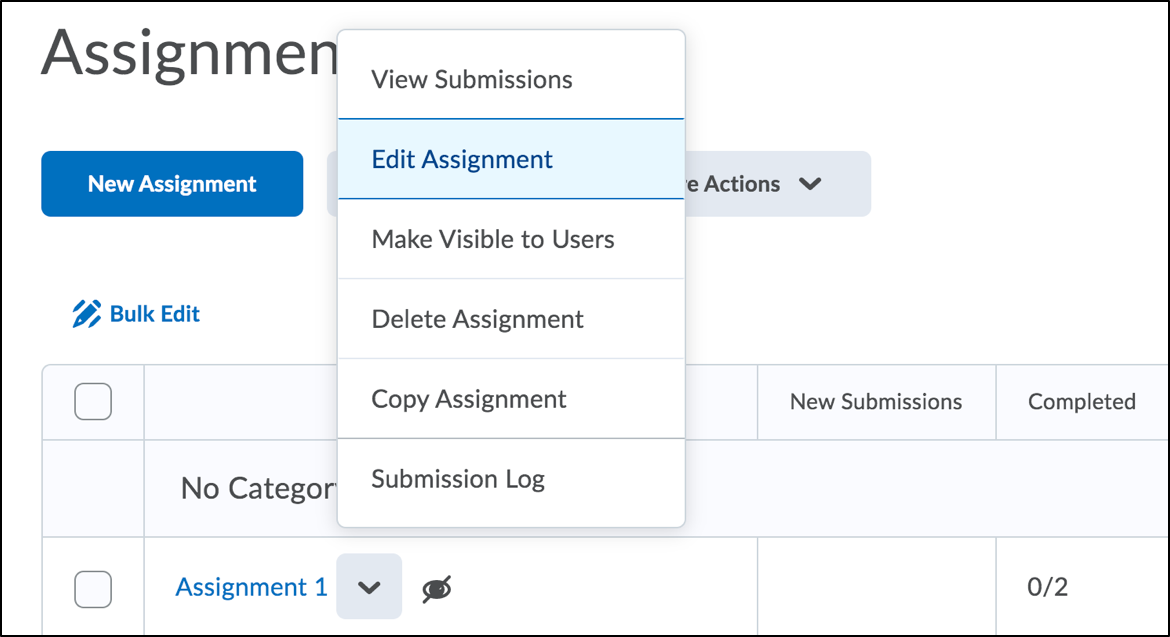
- Select the arrow next to the assignment you wish to edit.
- Select Edit Assignment.
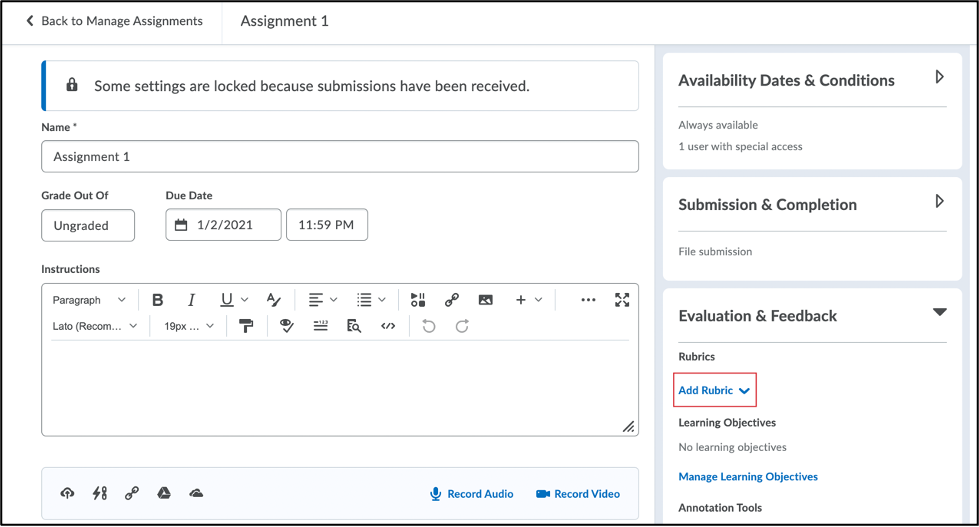
- Select Evaluation & Feedback in the side panel.
- Select Add Rubric.
- Select Create New from the drop-down menu. You will be taken to the Create Rubric page.
- Enter a name for the rubric.
- Select the Criterion to enter text.
NOTE: Criteria can be added by selecting the Add Criterion button at the bottom of the rubric or deleted by selecting the trash can at the right of a row.
- Select the boxes under the levels to copy or type text descriptions.
NOTE: Levels can be added by selecting the plus signs at either side of the top row of the rubric or removed by selecting the trash can within each level.
- When you have finished customizing the rubric settings, select Save and Close at the bottom of the page. The assignment and rubric will be ready for use.
Creating a Rubric in a Discussion
- Log into Brightspace using your MyCarletonOne credentials.
- On the Brightspace homepage, locate your course in one of the following ways:
-
- Select the course tile under the My Courses widget.
- Select the Course Selector Grid and select the course from the drop-down menu. If you are enrolled in more than 20 courses, you can search for the course name using the search bar.
-
- In the navbar, select Tools.
- Select Discussions from the drop-down menu.
- Select the arrow next to the discussion topic you wish to edit.
- Select Edit Topic.
- Select Assessment in the side panel.

- Select Create Rubric in New Window. You will be taken to the Create Rubric page.
- Enter a name for the rubric.
- Select the Criterion to enter text.
NOTE: Criteria can be added by selecting the Add Criterion button at the bottom of the rubric or deleted by selecting the trash can at the right of a row.
- Select the boxes under the levels to copy or type text descriptions.
NOTE: Levels can be added by selecting the plus signs at either side of the top row of the rubric or removed by selecting the trash can within each level.
- When you have finished customizing the rubric settings, select Save and Close at the bottom of the page. The assignment and rubric will be ready for use.
Previewing a Rubric
- Log into Brightspace using your MyCarletonOne credentials.
- On the Brightspace homepage, locate your course in one of the following ways:
-
- Select the course tile under the My Courses widget.
- Select the Course Selector Grid and select the course from the drop-down menu. If you are enrolled in more than 20 courses, you can search for the course name using the search bar.
-
- In the navbar, select Course Admin.
- Under Assessment, select Rubrics.
- Select the arrow next to the rubric you wish to preview.
- Select Preview from the drop-down menu.
- A preview pop-up window will open.
- Select Close when you are finished previewing.
Rubric Settings Explained
- Status: The status of the rubric can be changed by selecting Status in the top right corner of the rubric. The options are Published, Archived, and Draft.
- Analytic: There are two types of rubrics: Analytic and Holistic. The default is Analytic. If you want to change it, select Analytic above the rubric itself and select Holistic.
- Scoring Points: The default is for rubrics to grade by points. This can be changed to No Score or Custom Points in the Scoring Points pulldown menu.
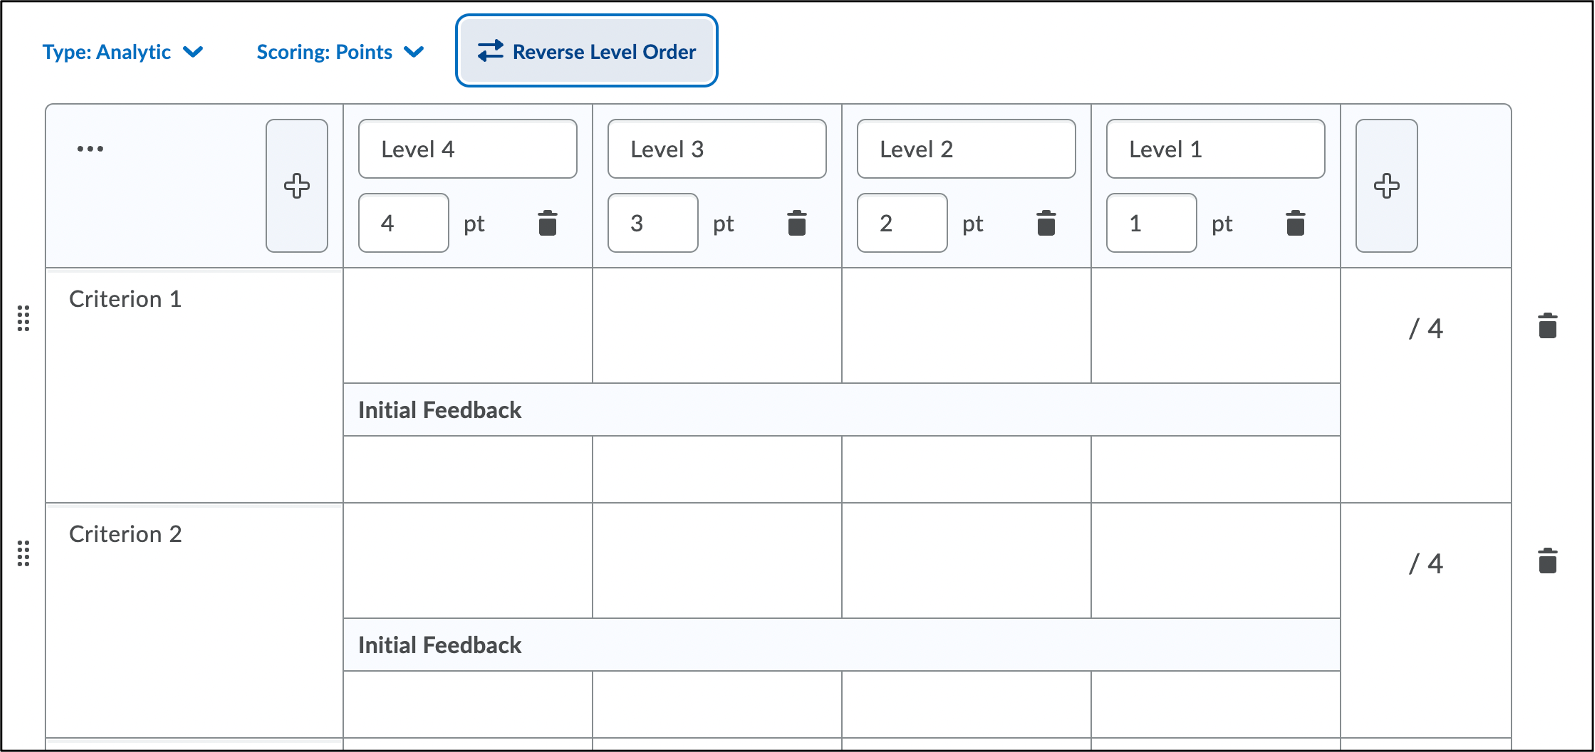
- Reverse Level Order: The order of the score levels can be reversed by selecting Reverse Level Order. This means that the points can increase left to right or right to left (this is the default).
- Add Criteria Group: Criteria can be grouped and labelled. To add additional Criteria Groups, select the Add Criteria Groups below the rubric. To label a Criteria Group select Criteria at the top left of the rubric and type the title. Repeat for additional criteria groups.
- Overall Score: An overall score for the rubric is calculated in a separate section below the rubric. Additional feedback may be included for each level by selecting the boxes under the levels. Additional levels may be added by selecting the plus signs at either side of the top row of the rubric or levels may be removed by selecting the trash can within each level.
Options Settings Explained
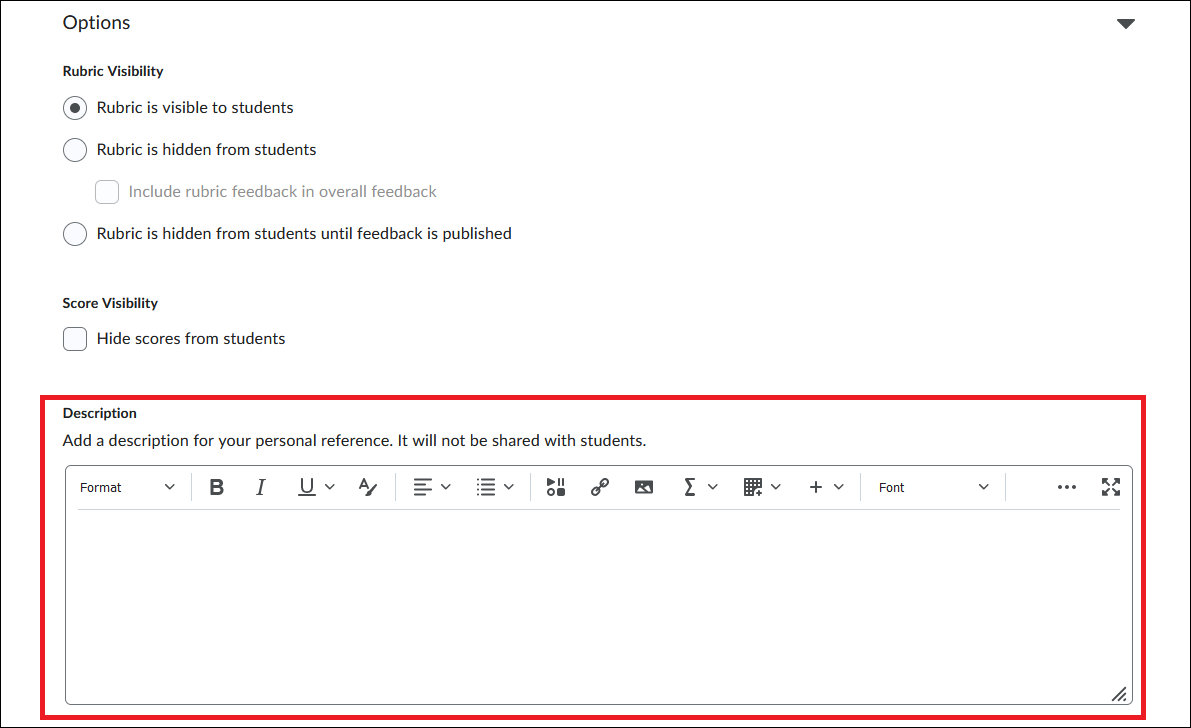
At the bottom of the page is an Options link. Select it to find options for rubric and score visibility.

- Rubric Visibility: There are three main options for visibility. The rubric can be visible to students, it can be hidden from students, or it can be hidden from students until the feedback is published. There is also an option for the rubric to be hidden but still included in overall feedback provided to students.
- Score Visibility: Scores can be visible to students or they can be hidden.
- Description: There is an option to add a rubric description that is only visible to you, the instructor.
- Advanced Availability: This option allows you to associate the rubric to competencies if you have set them up in the course.
Editing a Rubric
TIP: Once a rubric has been used for grading, it becomes locked. It is possible to edit the language/text of a locked rubric, but not to alter the criteria, group, level, or point structure. Changes to the language of a locked rubric will apply to all past and future assessments. In order to preserve the integrity of class assessments, we highly recommend restricting edits to spelling/grammar/formatting corrections or rewording for clarification.
- Log into Brightspace using your MyCarletonOne credentials.
- On the Brightspace homepage, locate your course in one of the following ways:
-
- Select the course tile under the My Courses widget.
- Select the Course Selector Grid and select the course from the drop-down menu. If you are enrolled in more than 20 courses, you can search for the course name using the search bar.
-
- In the navbar, select Course Admin.
- Under Assessment, select Rubrics.
- Select the arrow next to the rubric you wish to edit.
- Select Edit from the drop-down menu. You will be taken to the Edit Rubric page.
- Make your changes.
- Select Save.
Adding a Rubric Description
- Log into Brightspace using your MyCarletonOne credentials.
- On the Brightspace homepage, locate your course in one of the following ways:
-
- Select the course tile under the My Courses widget.
- Select the Course Selector Grid and select the course from the drop-down menu. If you are enrolled in more than 20 courses, you can search for the course name using the search bar.
-
- In the navbar, select Course Admin.
- Under Assessment, select Rubrics.
- Select the title of the rubric you wish to add a description to.
- Go to the bottom of the page and select Options.

- Go to the bottom of the page and find the box labelled Description.
- Add the description text to the box.
- Select Close when you are done writing the description.
- The description will now appear in the Description column of the table on the Rubrics page.
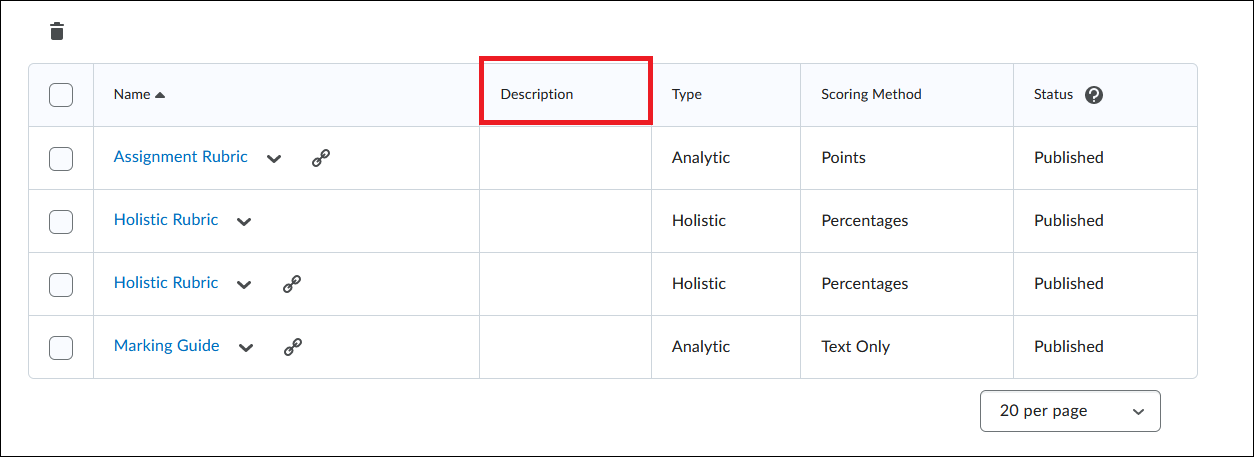
NOTE: Rubric Descriptions are only visible to instructors to use as a reference. Rubric Descriptions are not visible to students.
Rubric Status
Rubrics that are created in a Brightspace course can be assigned a status within the Rubrics page. A rubric’s status determines its availability for use within the course. A rubric can have one of three statuses.
Draft is a rubric in progress of being created. Drafts are not available for linking to assessment activities.
Published means a rubric is active and available for linking to assessment activities.
Archived rubrics are retired from the active list and are no longer available for linking to assessment activities.
NOTE: Rubrics that were linked to an assessment activity prior to being archived can still be viewed and used within that activity. An “Archived” tag will be added the rubric tile to indicate its change in status since being linked to the activity.
Changing Rubric Status
- Log into Brightspace using your MyCarletonOne credentials.
- On the Brightspace homepage, locate your course in one of the following ways:
-
- Select the course tile under the My Courses widget.
- Select the Course Selector Grid and select the course from the drop-down menu. If you are enrolled in more than 20 courses, you can search for the course name using the search bar.
-
- In the navbar, select Course Admin.
- Under Assessment, select Rubrics.
- Select the title of the rubric you wish to edit.
- Select Set Status in the drop-down menu.
-
Select your desired status: Draft, Published, or Archived.
NOTE: Changing a rubric’s status will change its availability within the course. If a rubric’s status is changed to Draft or Archived, it will no longer be available for linking to assessment activities.
Locating and Retrieving an Archived Rubric
- Log into Brightspace using your MyCarletonOne credentials.
- On the Brightspace homepage, locate your course in one of the following ways:
-
- Select the course tile under the My Courses widget.
- Select the Course Selector Grid and select the course from the drop-down menu. If you are enrolled in more than 20 courses, you can search for the course name using the search bar.
-
- In the navbar, select Course Admin.
- Under Assessment, select Rubrics.
- Select Show Search Options next to the search field.
- Check the box marked Archived at the bottom of the list of search filters.
- Select the Magnifying Glass icon
 in the search field to apply new filter. The Rubric’s table will now include Archived Rubrics.
 - Select the arrow next to the rubric you wish to edit.
- Select Set Status in the drop-down menu.
- Change the Status to Published. The rubric should now appear in your list of active rubrics.
Deleting a Rubric
- Log into Brightspace using your MyCarletonOne credentials.
- On the Brightspace homepage, locate your course in one of the following ways:
-
- Select the course tile under the My Courses widget.
- Select the Course Selector Grid and select the course from the drop-down menu. If you are enrolled in more than 20 courses, you can search for the course name using the search bar.
-
- In the navbar, select Course Admin.
- Under Assessment, select Rubrics.
- Select the arrow next to the rubric you wish to delete.
- Select Delete from the drop-down menu.
- You will be prompted to confirm that you want to delete the rubric. Select Delete.
Related Support Links
- D2L Video Tutorial: Create an Analytic Rubric
- D2L Video Tutorial: Create a Holistic Rubric
- D2L Video Tutorial: Add a Rubric to an Existing Activity
- Teaching and Learning Services: Steps to Creating a Grading Rubric
- Teaching and Learning Services: Brightspace Assignments and Rubrics Workshop
Was this page helpful?
6 people found this useful
Still need help? Contact us