- Entering Grades Manually in Spreadsheet View
- Entering Grades Manually in Standard View (by Grade Item)
- Entering Feedback
- Bulk Entering Grades (Set Grades)
For assessments that are created using a D2L Brightspace tool, such as a quiz or discussion forum, you can create a grade item within the tool so that grades will automatically be added to the gradebook. For assessments that are graded outside of Brightspace, you need to create a grade item, then manually enter student grades into the gradebook. Examples of assessments where you may need to manually enter grades include participation grades, offline midterms, and student presentation grades.
There are two ways you can manually enter grades in Brightspace:
- Spreadsheet view – Enter grades for all students and all grade items in a single spreadsheet view.
- Standard view (by grade item) – Enter grades for a single grade item for an individual student, or all students in the course.
Entering Grades Manually in Spreadsheet View
- Log into Brightspace using your MyCarletonOne credentials.
- On the Brightspace homepage, locate your course in one of the following ways:
- Select the course tile under the My Courses widget.
- Select the Course Selector Grid
 and select the course from the drop-down menu. If you are enrolled in more than 20 courses, you can search for the course name using the search bar.
- In the navbar, select Progress.

- In the drop-down menu, select Grades.
- Select Enter grades.

- Select Switch to Spreadsheet view.

NOTE: You can return to standard view at any time by selecting Switch to Standard View. - Locate the grade column for the item you wish to grade and enter the grades for each student.
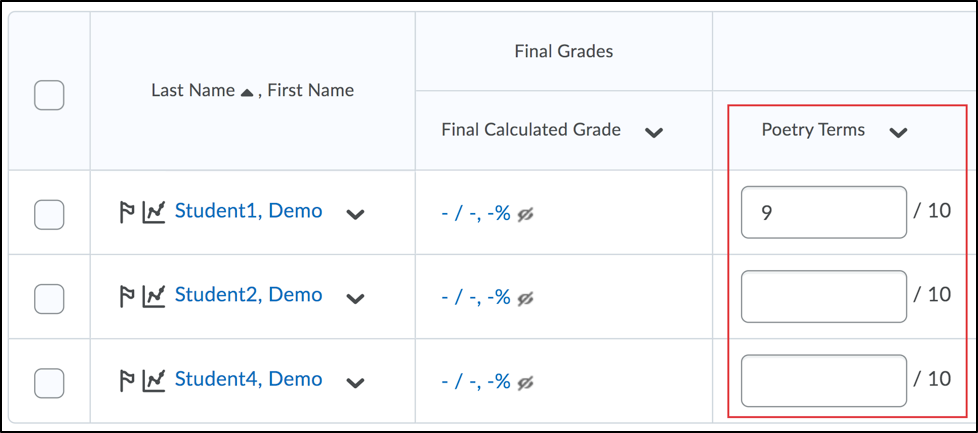
TIP: You can search for a specific student using the search field above the grades table. Select Show Search options to filter search results, or use the view by drop-down menu to view course groups. - Select Save when you have finished entering grades.
Entering Grades Manually in Standard View (by Grade Item)
- Log into Brightspace using your MyCarletonOne credentials.
- On the Brightspace homepage, locate your course in one of the following ways:
- Select the course tile under the My Courses widget.
- Select the Course Selector Grid and select the course from the drop-down menu. If you are enrolled in more than 20 courses, you can search for the course name using the search bar.
- In the navbar, select Progress.
- In the drop-down menu, select Grades.
- Select Enter grades.
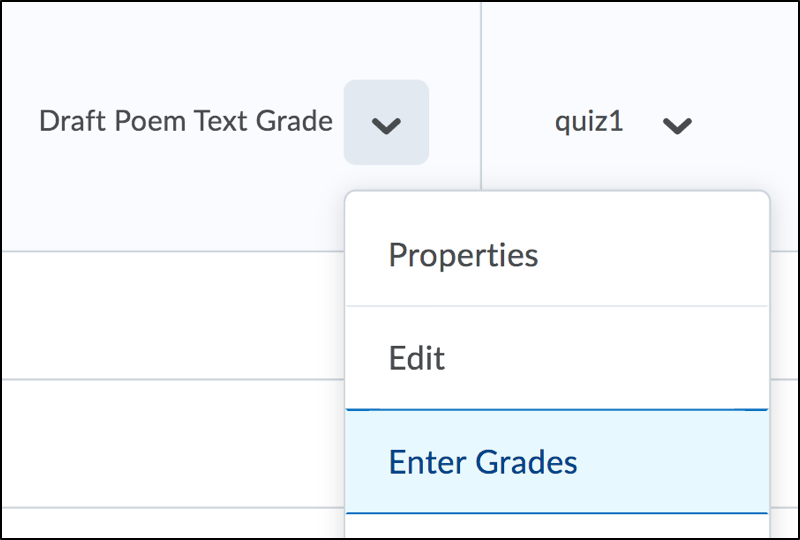
- Scroll down to the grades table and select the arrow
 next to the grade item you wish to grade.
 - In the drop-down menu, select Enter Grades.
- Enter a grade in the grade column for each student.

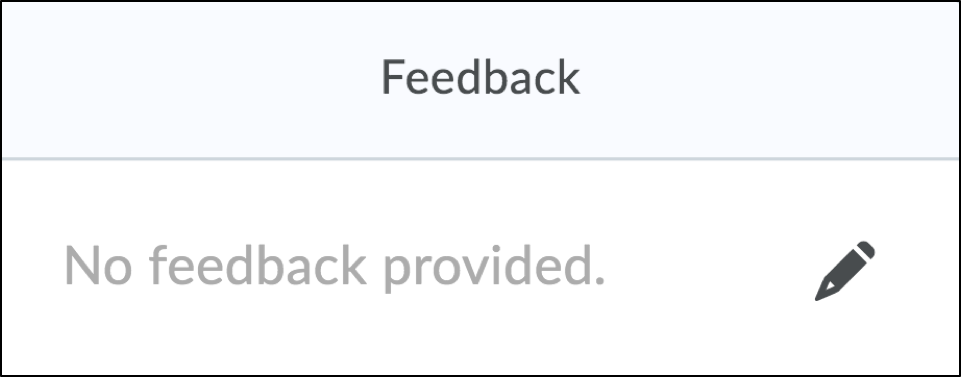
TIP: You can search for a specific student using the search field above the grades table. Select Show Search options to filter search results, or use the view by drop-down menu to view course groups. - To enter feedback, select the pencil icon
 in the feedback column.
- Select Save.
Entering Feedback
| NOTE: If you are linking grade items to Brightspace activities (e.g. Assignments, Discussions, etc), we recommend that you add or upload feedback in those tools rather than adding feedback in the Gradebook. |
- Log into Brightspace using your MyCarletonOne credentials.
- On the Brightspace homepage, locate your course in one of the following ways:
- Select the course tile under the My Courses widget.
- Select the Course Selector Grid and select the course from the drop-down menu. If you are enrolled in more than 20 courses, you can search for the course name using the search bar.
- In the navbar, select Progress.
- In the drop-down menu, select Grades.
- Select Enter grades.
- Select the arrow next to the grade item (column) you want to add feedback to, then select Enter Grades.
- Locate the name of the student you want to provide feedback for, then select the pencil icon
 under the Feedback column.
 - In the pop-up window, enter your feedback in the HTML Editor. You can use the Insert Stuff
 , Insert Image
  , or Insert Quicklink
  icons to insert feedback files for your students.
TIP: You have the option to record a feedback video within Brightspace using the Video Note feature. To record a video note, select the insert stuff icon in the HTML editor, then select Video Note. See the Creating Video Notes page for more information about video notes in Brightspace.TIP: Use the preview icon  to view how your feedback will appear to students.
 - You have the option to enter private comments that will only be visible to instructors and TAs with grading privileges.
- When you have finished entering your feedback, select Save.
Bulk Entering Grades (Set Grades)
- Log into Brightspace using your MyCarletonOne credentials.
- On the Brightspace homepage, locate your course in one of the following ways:
- Select the course tile under the My Courses widget.
- Select the Course Selector Grid and select the course from the drop-down menu. If you are enrolled in more than 20 courses, you can search for the course name using the search bar.
- In the navbar, select Progress.
- In the drop-down menu, select Grades.
- Select Enter grades.
- Select the arrow next to the grade item (column) you want to grade, then select Enter Grades.
- Select the checkboxes to the select the students you want to grade. To select all students, select the checkbox in the first row.
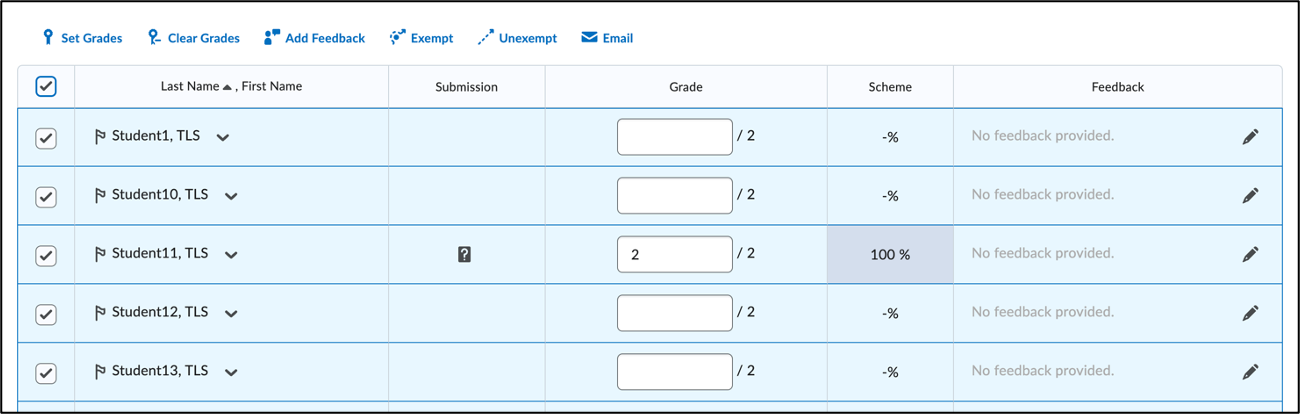
- Select Set Grades.
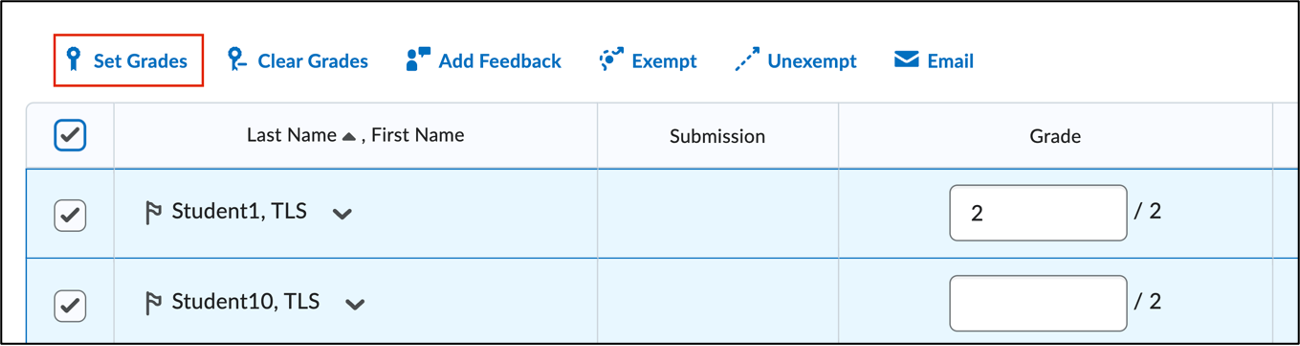
- In the Grade Selected window, enter the grade value you want to assign to all selected students.
- Select Save.
- Select Save and Close to save your changes and return to the Enter Grades tab.
Was this page helpful?
2191
a488467446
4 people found this useful
Still need help? Contact us