- Integrating Wooclap into PowerPoint
- Accessing Wooclap in Powerpoint
- Additional Resources for using Wooclap in PowerPoint
- Get Support
To use Wooclap in PowerPoint, you will have to integrate Wooclap as an Add-in. Once the integration process is completed, Wooclap can be accessed from the Add-ins menu.
Integrating Wooclap into PowerPoint
Wooclap can be integrated into PowerPoint for the web, or the PowerPoint Desktop Application.
Integrating Wooclap into PowerPoint for the Web
- Open Powerpoint for the web.
- Select the Add-ins drop down menu.
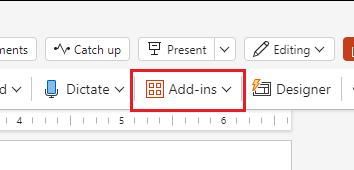
- Select More Add-ins.
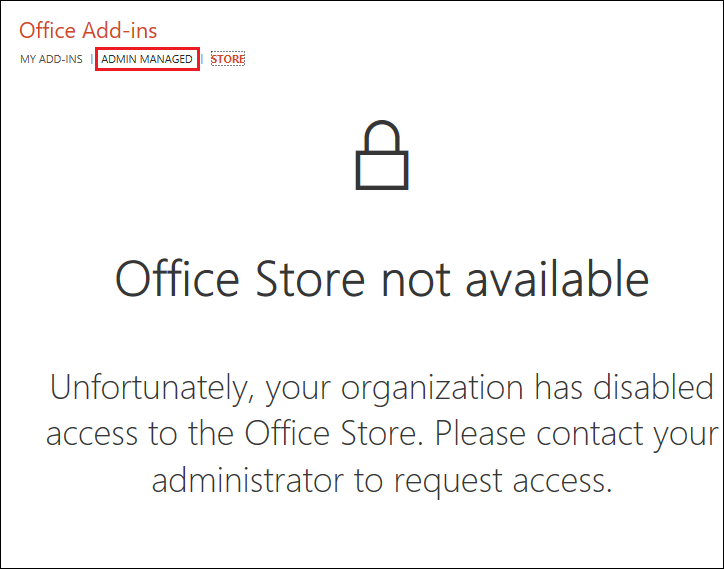
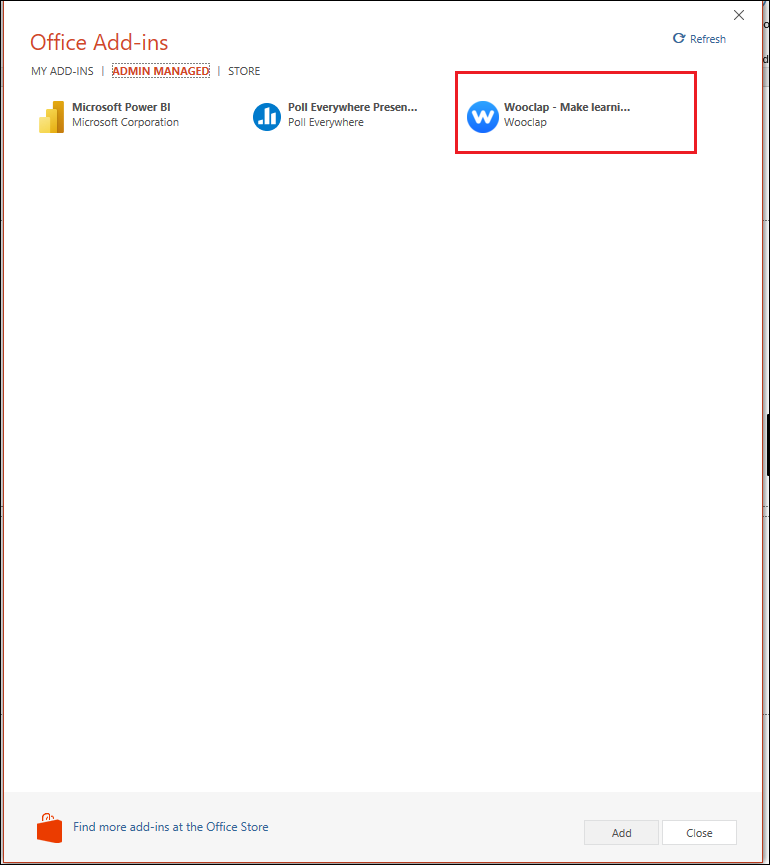
- Select Admin Managed.
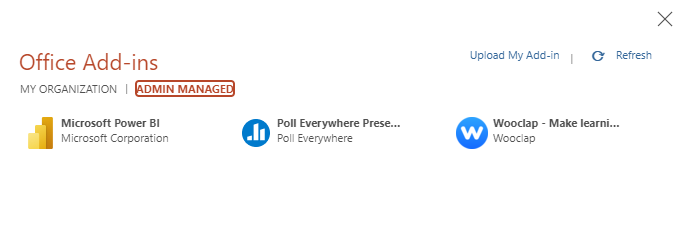
- Select Wooclap from the list of add-ins.
- Select Add.
- Select the Start button.
- In the email field enter cunet.carleton.ca.
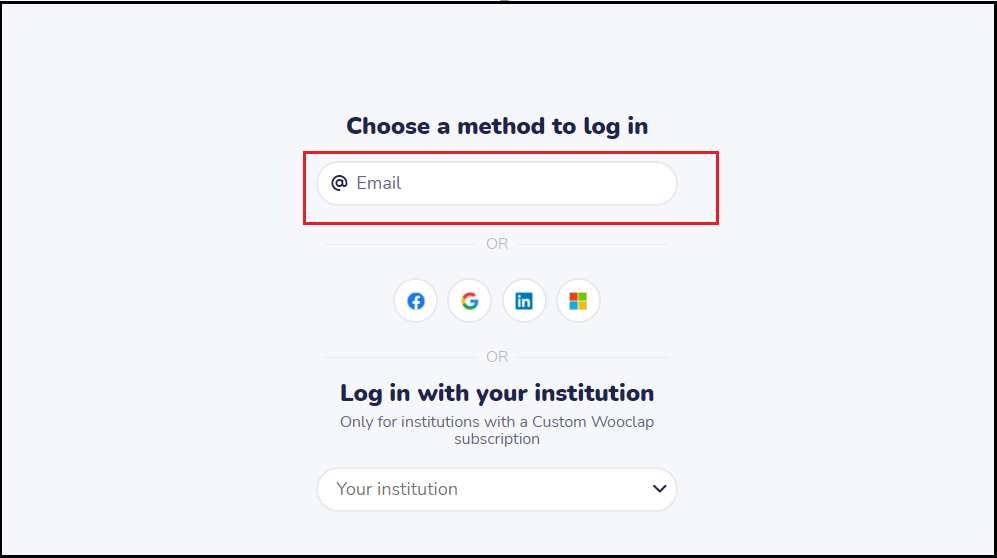
- Select the Microsoft Outlook logo.

- If prompted, sign in using your MC1 credentials.
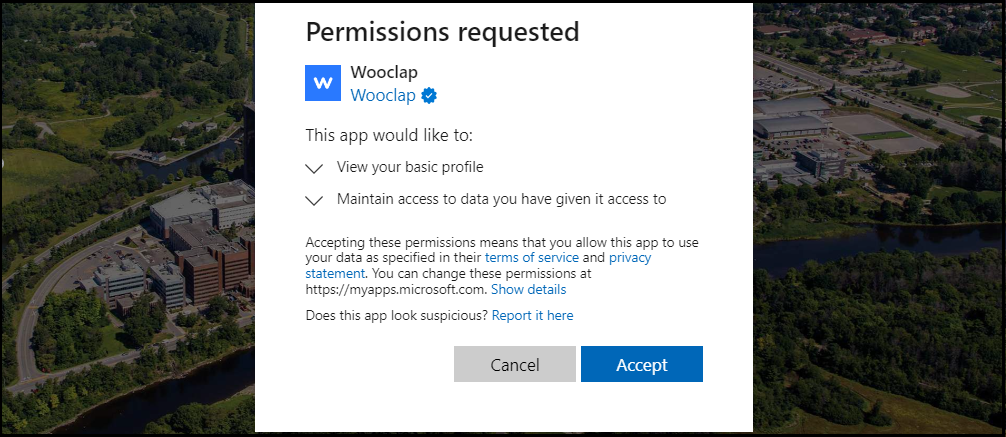
- Select Accept on the permissions screen.
 Wooclap is now integrated into PowerPoint. If you wish to access Wooclap, you can now find it in the My Add-ins tab.
Integrating Wooclap into the PowerPoint Desktop App
- Open the Powerpoint desktop application.
- Select the Insert Tab.
- Select Get Add-ins.
- Select Admin Managed.
- Select Wooclap from the list of add-ins.
- Select Add.
- Select the Start button.
- In the email field enter cunet.carleton.ca.
- Select the Microsoft Outlook logo.
- If prompted, sign in using your MC1 credentials.
- Select Accept on the permissions screen.
Wooclap is now integrated into PowerPoint. If you wish to access Wooclap, you can now find it in the My Add-ins tab.
Accessing Wooclap in Powerpoint
You can access Wooclap in Powerpoint through the Add-ins menu. This option is only available if Wooclap has been integrated into Powerpoint first.
Accessing Wooclap in PowerPoint for the Web
- Open PowerPoint.
- Select Add-ins.
- Select Wooclap from the list of Add-ins.
You have now added Wooclap to your presentation. You can use this interface to create and edit your Wooclap Activity.
Accessing Wooclap in the PowerPoint Desktop App
- Open the Powerpoint desktop application.
- Select the Insert Tab.
- Select My Add-ins drop down menu.
- Select Wooclap.
You have now added Wooclap to your presentation. You can use this interface to create and edit your Wooclap Activity.
Additional Resources for using Wooclap in PowerPoint
Get Support
 Wooclap Support
- Wooclap Vendor Support Hub
- Wooclap Instructor Support Page
- Wooclap Guides
- Official Wooclap Youtube channel
 Teaching and Learning Services Contact Information
-
- TLS Support – Visit the TLS Support Portal to create a support request.
- Drop-In Support – Tuesdays, Wednesdays, and Thursdays from 10AM to 12PM at the Future Learning Lab, 4th Floor of the MacOdrum Library.
- TLS Hours of Operation – Monday to Friday 8:30AM to 4:30PM.
Was this page helpful?
9120
e0f816825e
no one has found this useful yet.
Still need help? Contact us