- Homepage Layout
- Creating a Custom Homepage Layout and Applying the Layout to Your Course
- Managing Your Homepages
- Editing the Default Homepage Layout
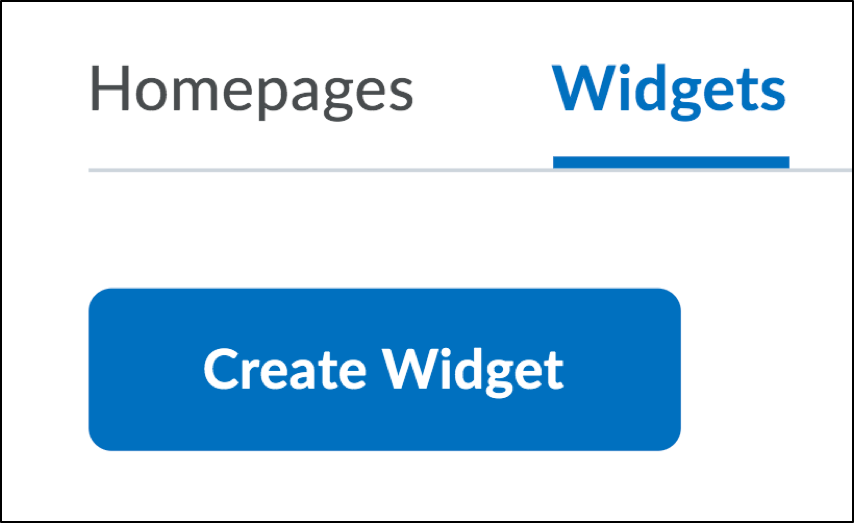
- Widgets
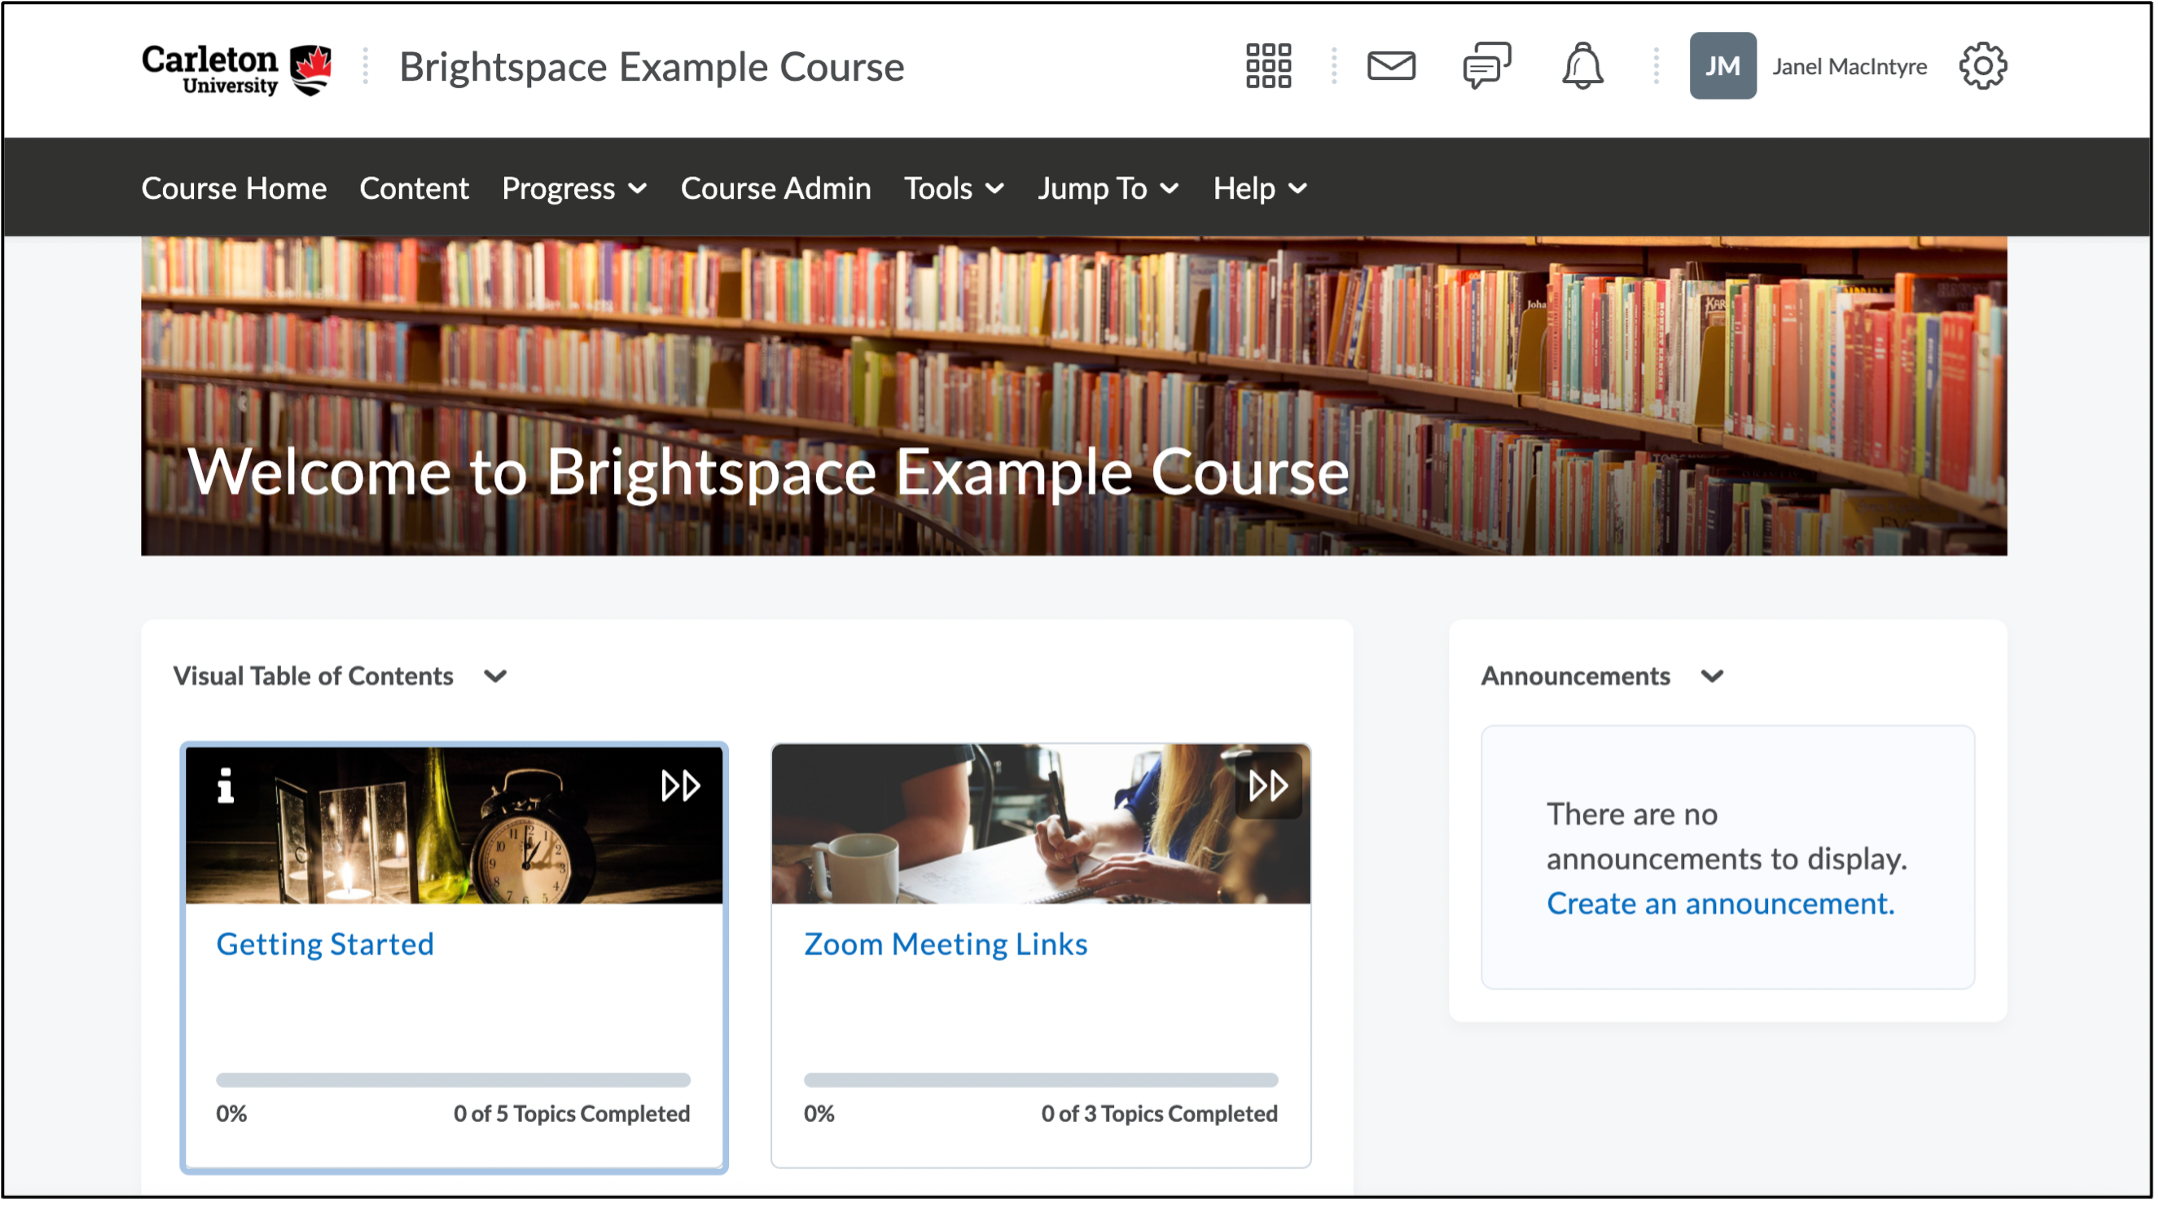
In D2L Brightspace, your course homepage is the first page students see when they select your course. By default, your course homepage layout is widget-based with the Visual Table of Contents and Announcements widgets automatically enabled. Widgets are blocks of content on the homepage that provide important course information to students, such as links to course tools or contact information. You have the option to customize the content displayed on your course homepage by adding, deleting, or editing widgets, as well as changing your course banner image.
Homepage Layout
All courses are initially set up with a default course homepage. By default, your course homepage is widget-based with the Visual Table of Contents and Announcements widgets automatically enabled. To customize your homepage, you can either create a new homepage for your course and set it as the active homepage, or you can edit the default homepage by creating a homepage copy.
There are three types of course homepages available in Brightspace:
- Widget-based (default): Displays a standard homepage with various widgets.
- Tool: Displays a system tool, such as Content, as your homepage.
- External URL: Displays an external web page as your course homepage.
Creating a Custom Homepage Layout and Applying the Layout to Your Course
- Sign into Brightspace with your MyCarletonOne credentials.
- On the Brightspace homepage, locate your course in one of the following ways:
- Select the course tile under the My Courses widget.
- Select the Course Selector Grid
 and select the course from the drop-down menu. If you are enrolled in more than 20 courses, you can search for the course name using the search bar.
- In the navbar, select Course Admin.
- Under Site Setup, select Homepages.
- Select Create Homepage button.

- Enter a name, description (if applicable) and header text.
WARNING!: Do not change the type. Type is to be set at Widget based across homepages at Carleton. You can consult with a TLS member if you are wanting to use an alternative homepage layout.
TIP: Homepages may change semester to semester. A helpful naming tip is to name the homepage reflective of the semester; for example, “CHEM 1111- Winter 2021.”
- Select Change Layout button to view all of the widget layout options.
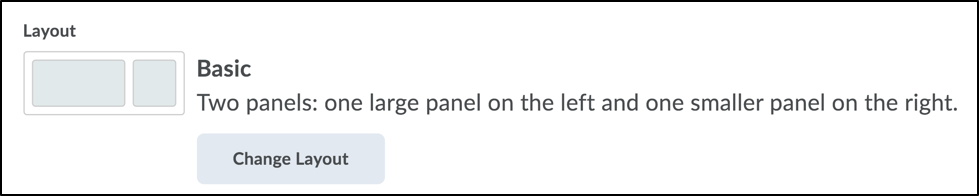
- Select the layout you want for your course homepage and select Update.
- In the Widget area, you will notice that the layout has changed based on the selection from step 5. Select Add Widgets button and choose widgets to be located in each part of the layout.
- In the pop-up window, select the check boxes beside the widgets that you want to add to the homepage panel, then select Add or Update.
NOTE: The widgets listed are dependent on the tools available for use within your organization and added to the current org unit.
- To change a widget’s vertical placement on a panel or move it to another panel, select and drag the widget.
- Select Save and Close. You will be taken back to the Homepage tool page.
TIP: In the bottom right corner of your course homepage, select the … button. You can select Edit this homepage. This is a shortcut to access the editing page for your current homepage.
- To make your newly created homepage the active homepage, select the Active Homepage pulldown menu.
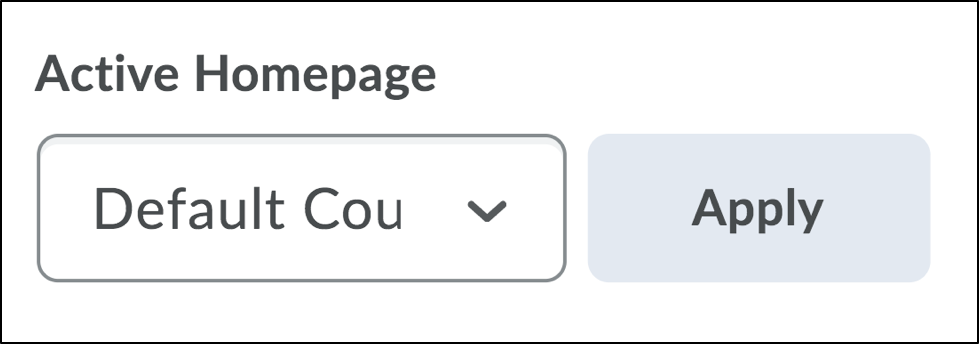
- Select the homepage you want to be active in your course.
- Select Apply.
Managing Your Homepages
You can use the Homepage Management tool to edit your homepage layout or change the active homepage. The process for editing a homepage differs depending on whether you want to edit the default homepage or a custom homepage you have created for your course (See examples of how default and custom homepages will appear on your Homepage Management screen below).
Default Homepage Example:

Custom Homepage Example:

To Access the Homepage Management Tool
- Sign into Brightspace with your MyCarletonOne credentials.
- On the Brightspace homepage, locate your course in one of the following ways:
- Select the course tile under the My Courses widget.
- Select the Course Selector Grid and select the course from the drop-down menu. If you are enrolled in more than 20 courses, you can search for the course name using the search bar.
- Access the Homepage management tool in either of the following ways:
- To access the Homepage Management tool through Course Admin:
- Select Course Admin in the navbar.

- Select Homepages.

- Select Course Admin in the navbar.
- To access the Homepage Management tool from your course homepage:
- Scroll to the bottom of you course homepage and select the Homepage Actions Menu […]
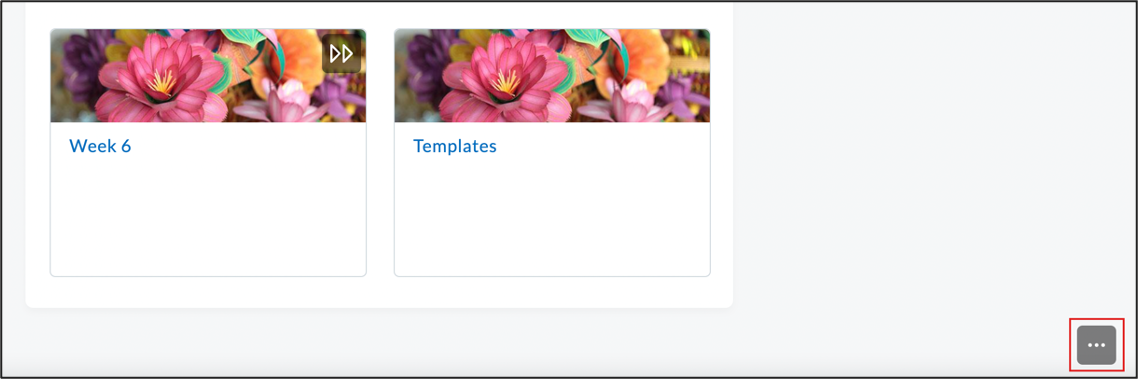
- Select Manage Homepages from the drop-down menu.
- Scroll to the bottom of you course homepage and select the Homepage Actions Menu […]
- To access the Homepage Management tool through Course Admin:
- You will be taken to the Homepage tab of the Homepage Management Tool. Scroll down to locate the homepage you want to edit.
Editing the Default Homepage Layout
The default homepage layout is not editable by default, meaning you cannot access the Edit Homepage screen in the same way as you would for a custom homepage. You can edit the default homepage content (layout, widgets, etc) by making a copy of the homepage. Once you have created a copy and adjusted your homepage settings, you will need to set the homepage copy as the active homepage.
To Edit the Default Homepage
- Sign into Brightspace with your MyCarletonOne credentials.
- On the Brightspace homepage, locate your course in one of the following ways:
- Select the course tile under the My Courses widget.
- Select the Course Selector Grid and select the course from the drop-down menu. If you are enrolled in more than 20 courses, you can search for the course name using the search bar.
- In the navbar, select Course Admin.
- Select Homepages.
- Locate the Default Course Homepage and select the down arrow.


- Select Copy from the pulldown menu.

- A copy will appear directly below the Default Course Homepage. Select the Default Homepage – Copy link to access the Edit Homepage screen.

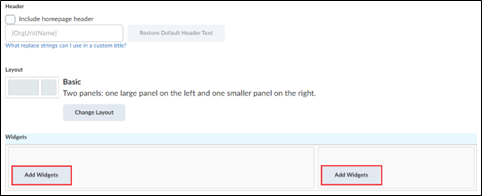
- Customize your homepage settings. You can edit the homepage layout, add/remove widgets, add a header, etc.
- Select Save and Close to save your changes and return to the Homepages screen.
- Select the Active Homepage drop-down menu.
- Select the copy of the Default Course Homepage.
- Select Apply.
Editing a Custom Homepage
If you have created a custom homepage layout for your course (via the Create Homepage button), you can edit your homepage settings through the Homepage Management tool.
To Edit a Custom Homepage
- Sign into Brightspace with your MyCarletonOne credentials.
- On the Brightspace homepage, locate your course in one of the following ways:
- Select the course tile under the My Courses widget.
- Select the Course Selector Grid and select the course from the drop-down menu. If you are enrolled in more than 20 courses, you can search for the course name using the search bar.
- In the navbar, select Course Admin.
- Select Homepages.
- You will be taken to the Homepage tab of the Homepage Management Tool. Scroll down to locate the homepage you want to edit.
- Select the name of the homepage to access the Edit Homepage screen.
- Customize your homepage settings. You have the option to edit the homepage layout, add/remove widgets, add a header, etc.
- Select Save and Close to save your changes and return to the Homepages screen.
Changing the Active Homepage
- Sign into Brightspace with your MyCarletonOne credentials.
- On the Brightspace homepage, locate your course in one of the following ways:
- Select the course tile under the My Courses widget.
- Select the Course Selector Grid and select the course from the drop-down menu. If you are enrolled in more than 20 courses, you can search for the course name using the search bar.
- In the navbar, select Course Admin.
- Select Homepages.
- Select the Active Homepage drop-down menu.
- Select the homepage you want to be active in your course.
- Select Apply.
Widgets
Widgets are the “building blocks” of Brightspace homepages. A widget is essentially a content block that is easily accessible on the course homepage. Widgets can be used to highlight important course information for students, such as announcements or calendars, or to provide links to course tools, such as Office 365 or Kaltura. By default, your course homepage is widget-based with the Visual Table of Contents and Announcements widgets automatically enabled. You have the option to customize the content displayed on your course homepage by adding, deleting, or editing widgets.
There are two types of widgets in Brightspace:
- System Widgets: System widgets are defined by the Brightspace Learning Environment platform. You cannot modify the contents of system widgets or delete them, but you can change where the widgets are located on your course homepage and customize their display options. For a comprehensive description of all the system widgets, see the D2L List of System Widgets.
- Custom Widgets: Custom widgets allow you to expand the functionality of available content in your homepages to suit your specific organizational and course needs. You can add custom HTML code to create a wide range of widgets.
→If you are using the Pearson MyLab and Mastering widget in your course, see the Pearson-Brightspace Instructor Course Setup Guide for instructions.
Adding a Widget to Your Homepage
NOTE: You cannot add a widget directly to the default homepage. The default homepage is not editable, but you can adjust your homepage layout and add widgets by creating a default homepage copy. See the instructions for editing the default homepage layout below.
- Sign into Brightspace with your MyCarletonOne credentials.
- On the Brightspace homepage, locate your course in one of the following ways:
- Select the course tile under the My Courses widget.
- Select the Course Selector Grid and select the course from the drop-down menu. If you are enrolled in more than 20 courses, you can search for the course name using the search bar.
- In the navbar, select Course Admin.
- Under Site Setup, select Homepages.
- You will see a list of your course homepages. Locate the homepage you want to edit and select the homepage name.
NOTE: If you want to add a widget to your default homepage, you will first need to create a homepage copy (see Editing the Default Homepage Layout for instructions). Once you have edited the default homepage copy, you will need to set it as the active homepage (See Changing the Active Homepage for instructions).
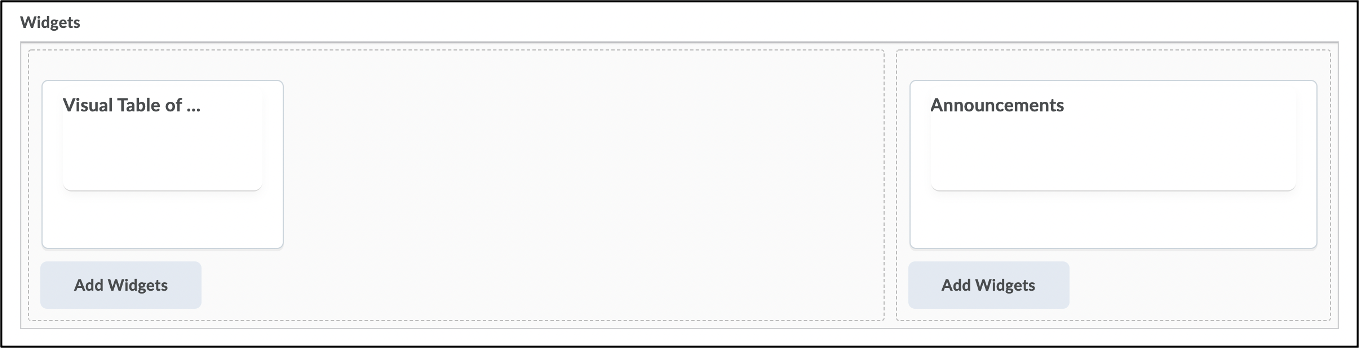
- On the Edit Homepage screen, scroll down to the Widgets heading. You will see your course widgets displayed in panels. Each panel is outlined with a dashed line (see example below).
- Select Add Widgets in the panel where you want the widget to appear.
- A pop-up window will appear with a list of available system and custom widgets. In the window, select the following:
- Select the checkbox next to the widget you want to add to your homepage.
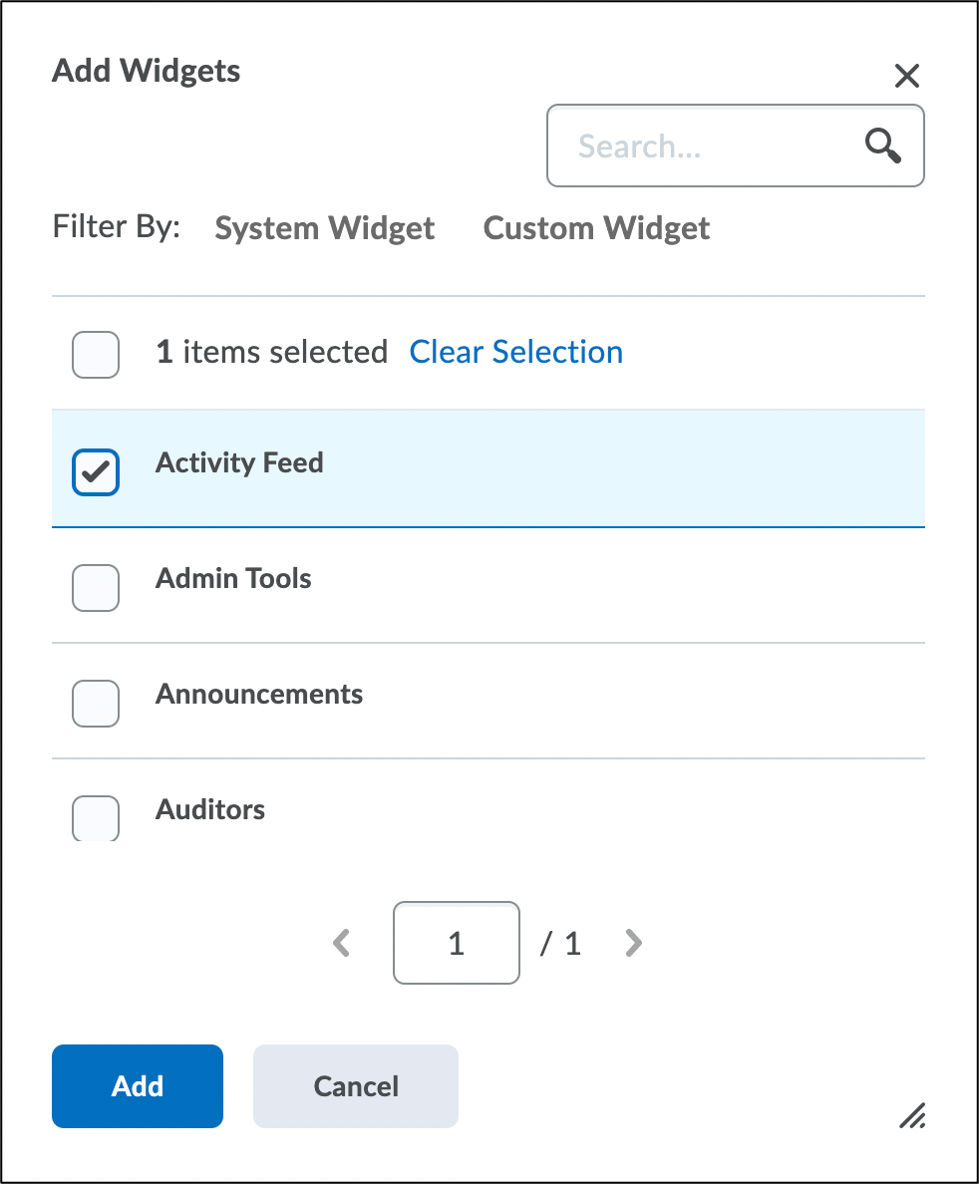
TIP: You can use the search field to search for a widget, or you can filter the list by System or Custom widgets using the links at the top of the pop-up window.
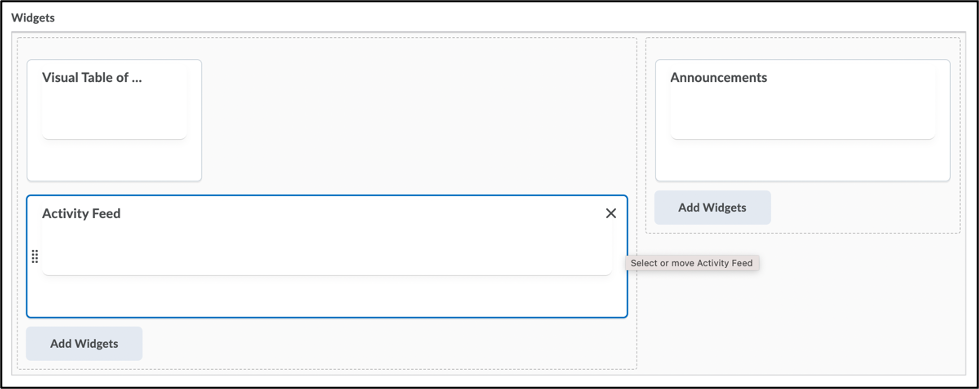
- Select Add. The widget will now appear in your chosen panel under Widgets.
- Select the checkbox next to the widget you want to add to your homepage.
- Select Save and Close to save your changes.
NOTE: If you are adding a widget to the active homepage, it will automatically appear on your course homepage once you save your changes. If you are adding a widget to a homepage that is not the active homepage, you can preview how a widget will appear in a Brightspace course on your Widgets page.
Creating a Widget Copy
- Sign into Brightspace with your MyCarletonOne credentials.
- On the Brightspace homepage, locate your course in one of the following ways:
- Select the course tile under the My Courses widget.
- Select the Course Selector Grid and select the course from the drop-down menu. If you are enrolled in more than 20 courses, you can search for the course name using the search bar.
- In the navbar, select Course Admin.
- Under Site Setup, select Widgets. You will see two tabs: System and Custom widgets.
- Select Custom Widgets.
- Locate the widget you want to copy and select the copy icon
 under the Actions column.

- You will be prompted to confirm that you want to create a copy of the selected widget. Select Yes.
- A copy will appear directly below the original widget in the Custom Widget List.

Editing a Widget Copy or Custom Widget
NOTE: Only widget copies or custom widgets can be edited. The default custom widgets (i.e. Carleton Welcome, Teaching Team) cannot be edited by default. To edit a default custom widget, you will first need to create a widget copy. System widgets cannot be edited or deleted, but you can change where the widgets are located on your course homepage and customize their display options. .
- Sign into Brightspace with your MyCarletonOne credentials.
- On the Brightspace homepage, locate your course in one of the following ways:
- Select the course tile under the My Courses widget.
- Select the Course Selector Grid and select the course from the drop-down menu. If you are enrolled in more than 20 courses, you can search for the course name using the search bar.
- In the navbar, select Course Admin.
- Under Site Setup, select Widgets. You will see two tabs: System and Custom widgets.
- Select Custom Widgets.
- Locate the widget copy or custom widget you want to edit and select the edit icon
 under the Actions column. You will be taken to Edit Widgets page.

- Make your changes as needed under the following tabs:
- Properties – Edit the widget name, description, and sharing settings.
- Release Conditions – Attach or create a release condition to your widget. This will allow widget content to be made available based on specific parameters (i.e. access to the widget can be granted based on a user’s role (Student, TA, etc.))
- Content – Add content to the HTML Editor (i.e. text, Images, videos) and customize the widget style. For more information on HTML content creation, see Using the HTML Editor.
- Select Save and Close.
Previewing a Widget
- Sign into Brightspace with your MyCarletonOne credentials.
- On the Brightspace homepage, locate your course in one of the following ways:
- Select the course tile under the My Courses widget.
- Select the Course Selector Grid and select the course from the drop-down menu. If you are enrolled in more than 20 courses, you can search for the course name using the search bar.
- In the navbar, select Course Admin.
- Under Site Setup, select Widgets. You will see two tabs: System and Custom widgets.
- Locate the widget you want to preview and select the preview icon
 under the Actions column.

- A Widget Preview pop-up box will open. When you are finished previewing, select Close to exit the preview window.
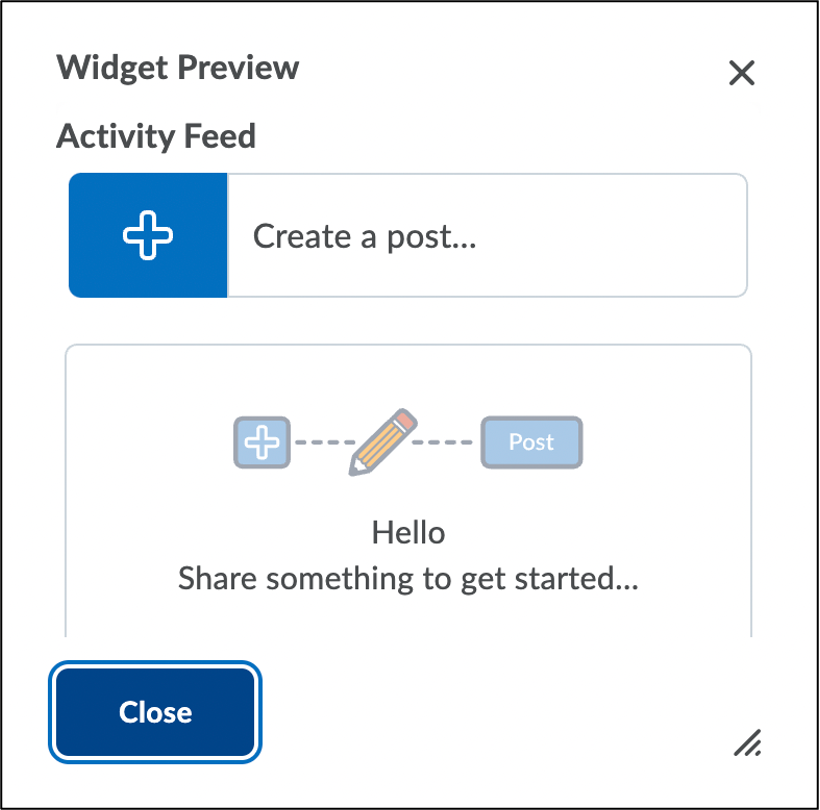
TIP: You can select and drag the three lines ![]() at the bottom of the Widget Preview window to adjust the size of the window.
at the bottom of the Widget Preview window to adjust the size of the window.
Deleting a Widget From Your Homepage
- Sign into Brightspace with your MyCarletonOne credentials.
- On the Brightspace homepage, locate your course in one of the following ways:
- Select the course tile under the My Courses widget.
- Select the Course Selector Grid and select the course from the drop-down menu. If you are enrolled in more than 20 courses, you can search for the course name using the search bar.
- In the navbar, select Course Admin.
- Select Homepages.
- You will see a list of your course homepages. Locate the homepage you want to edit and select the homepage name.
- On the Edit Homepage screen, scroll down to the Widgets heading. You will see your course widgets displayed in panels. Each panel is outlined with a dashed line (see example below).
- Hover your cursor over the widget you want to delete and select the X.
- Select Save and Close to save your changes.
Creating a Custom Widget
- Sign into Brightspace with your MyCarletonOne credentials.
- On the Brightspace homepage, locate your course in one of the following ways:
- Select the course tile under the My Courses widget.
- Select the Course Selector Grid and select the course from the drop-down menu. If you are enrolled in more than 20 courses, you can search for the course name using the search bar.
- In the navbar, select Course Admin.
- Under Site Setup, select Widgets. You will see two tabs: System and Custom widgets.

- Select the Create Widget button.
- Enter a name and description for the widget.
- Select the Content tab. Add content that will be displayed within the widget. Images, videos, and quick links can all be added to the HTML editor.
NOTE: You can also add release conditions for a widget to appear on a homepage under the Release Conditions tab.
TIP: Use the Preview Widget button at the top of the Edit Widget page to view your work before saving.
- To apply different styling options to the widget, select Customize Widget Style button. You can change a few settings within this popup:
- To hide the title bar, clear the Display Title bar check box.
- To remove the default border style, select the Display widget container style check box.
- Select Prohibit minimizing widget to prevent users from closing the widget on the homepage.
- To set a custom title, in the Widget Name section, select the Custom. Enter your text in the field.
- Select Save and Close.
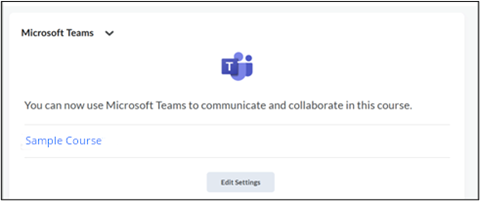
Adding the Microsoft Teams Widget
- Sign into Brightspace with your MyCarletonOne credentials.
- On the Brightspace homepage, locate your course in one of the following ways:
-
- Select the course title under the My Courses widget.
- Select the Course Selector Grid and select the course from the drop-down menu. If you are enrolled in more than 20 courses, you can search for the course name using the search bar.
- In the course navbar, select the Course Admin tab.
- Under the Site Setup heading, select the Homepages option.

- Navigate to the pull down menu under the Active Homepage heading and select the Default Course Homepage – Copy option.
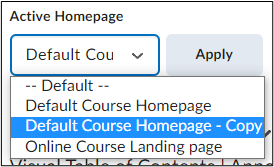
TIP: If you do not see the Default Course Homepage – Copy option, create a copy. To create a copy, select the chevron next to the Default Course Homepage and select Copy.
- Select the Create Homepage button.
- Navigate to the bottom of the page and select one of the two Add Widgets buttons.
NOTE: Each Add Widget button corresponds to the Content Panels on the Homepage. If you select the button on the left, then your widget will appear on the Main Content Page. If you select the button on the right, your widget will appear on the Secondary Content Page.
- Navigate down the list of widgets, and select the checkbox next to Microsoft Teams.

- Select the Add button.
- Select the Save and Close button to return to the Homepages page.
NOTE: You must add a name for your new homepage before you can select the Save and Close button. For this guide, the new homepage will be: Homepage Copy.
- Navigate to the pulldown menu under the Active Homepage heading and select the Homepage Copy that you just created.

- Select the Apply button.
- In the course navbar, select the Course Home tab.

- Find and select the hyperlink in the MS Teams widget in the course homepage. Brightspace will then generate a MS Teams site for the course.
NOTE: MS Teams will take at least two minutes before a team will appear on your Teams website..
- Select the Open Your Team button.
NOTE: The course MS Teams widget will not appear if the course classlist is empty.
Was this page helpful?
1 Person found this useful
Still need help? Contact us