- Link your Poll Everywhere Account to your Brightspace Course
- Sync/Import your Class Roster
- Creating Poll Everywhere Activities
- Present the Activity in Poll Everywhere During your Class.
- Edit a Poll Everywhere Activity
- Grading Poll Everywhere Activities
- Create a Gradebook Report in Poll Everywhere
- Export a Poll Everywhere Gradebook Report to Brightspace
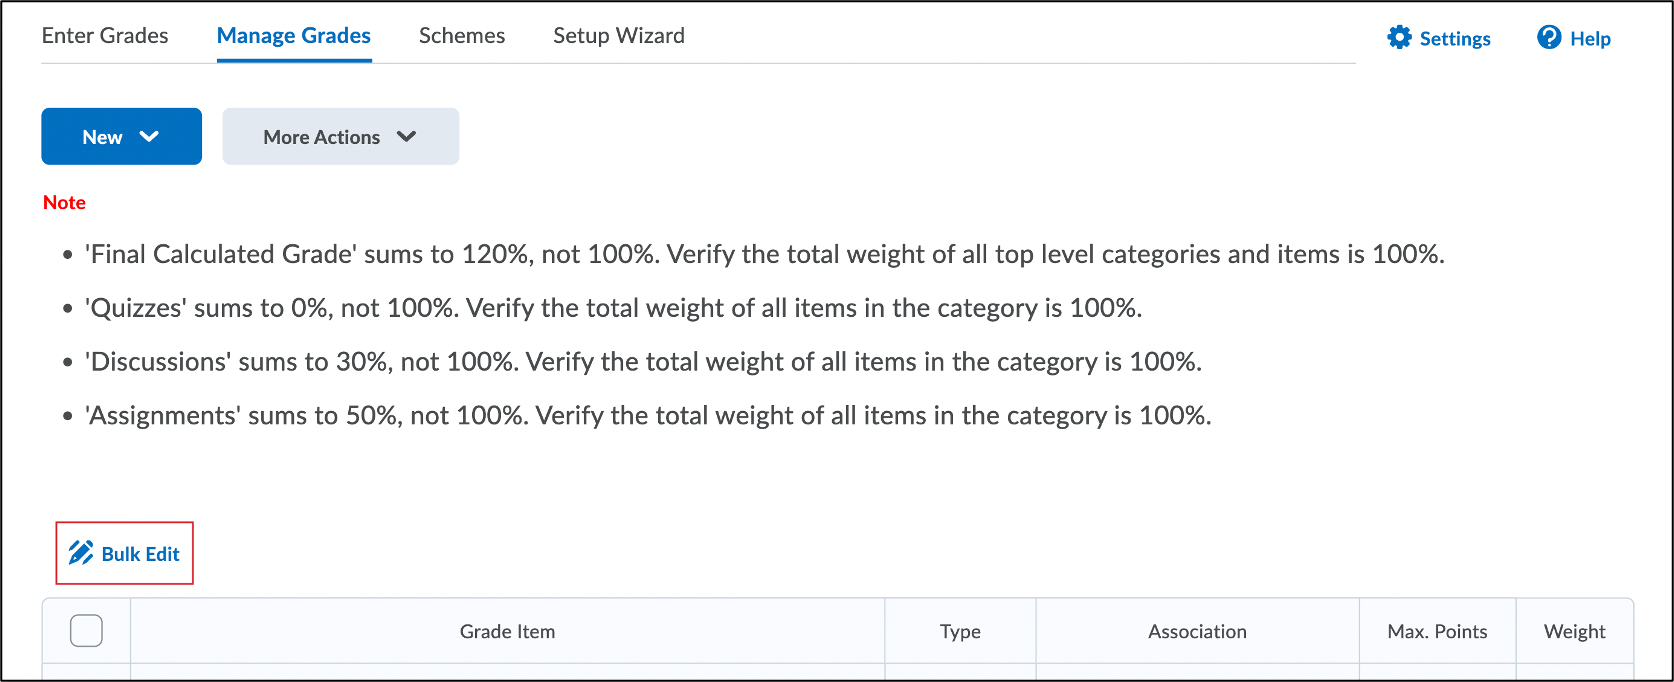
- Create a Grade Category
- Move Poll Everywhere Grade Items to a Grade Category in Brightspace
- Embedding Poll Everywhere Activities in Brightspace using Embed Scripts
- Embedding Poll Everywhere Activities in Brightspace using Response Links
- FAQ
- Need Help Using Poll Everywhere?
Poll Everywhere is a real-time, polling tool that allows you to get instant feedback from your students. You can use Poll Everywhere by itself, or you can use it within Brightspace.
You can log in to Poll Everywhere using Single Sign-On (SSO) with your MyCarletonOne (MC1) account. When logging in at polleverywhere.com, use your @cunet email address and password. If you have already logged in somewhere with your MC1 account, you will automatically be logged in to Poll Everywhere.
If you are running graded Poll Everywhere activities or tracking attendance/participation, you will need to link your Poll Everywhere Account to your Brightspace Course and Import/Sync your Course Roster.

Getting Started with Poll Everywhere
- For an introduction to Poll Everywhere, watch the Getting Started with Poll Everywhere Webinar or register for a live webinar session.
- Visit the Poll Everywhere Support Centre for comprehensive help resources for using Poll Everywhere
- Visit Carleton’s Poll Everywhere page for information about Poll Everywhere accounts and support resources
- For help using Poll Everywhere, fill out the Brightspace consultation request form to schedule a one-on-one consultation with Teaching and Learning Services, or visit the TLS Support Portal to submit a support request.
Link your Poll Everywhere Account to your Brightspace Course |
|
If you are tracking student participation, attendance, or creating graded activities, you will need to link you Poll Everywhere Account to your Brightspace course.
|


Sync/Import your Class Roster |
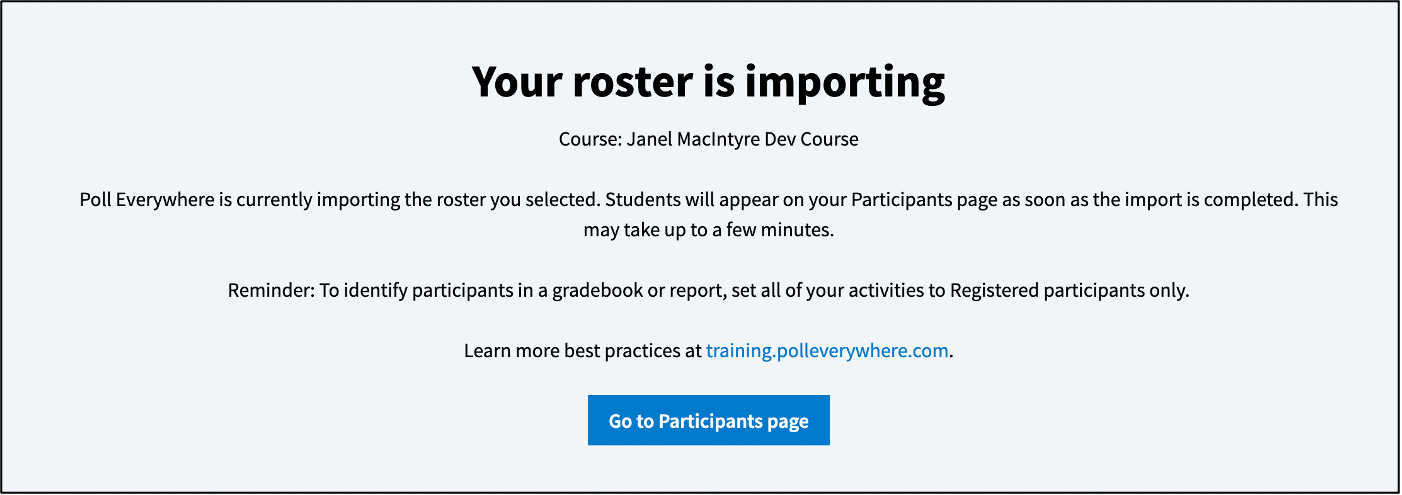
Instructors can import their Brightspace course rosters into Poll Everywhere to automatically register each student as a Poll Everywhere participant. Once the class register has been imported, students that do not have a Poll Everywhere account will receive an auto-generated email asking them to create one. The class list can be re-synced at any time to update the roster. If you are tracking student participation, attendance, or creating graded activities, you need to import/synchronize your Brightspace classlist to your Poll Everywhere account.
|

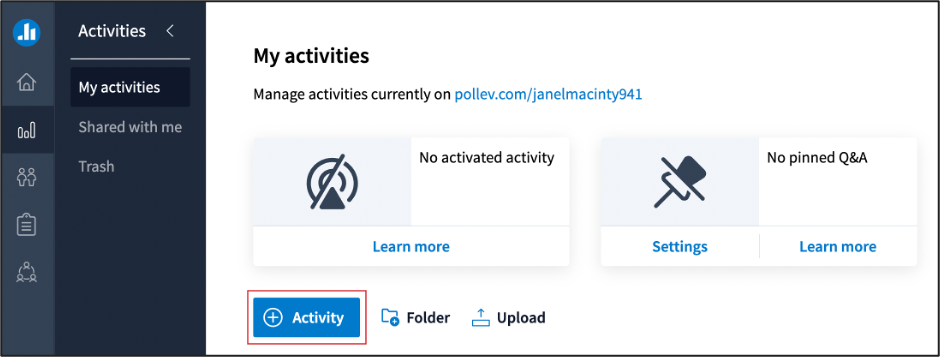
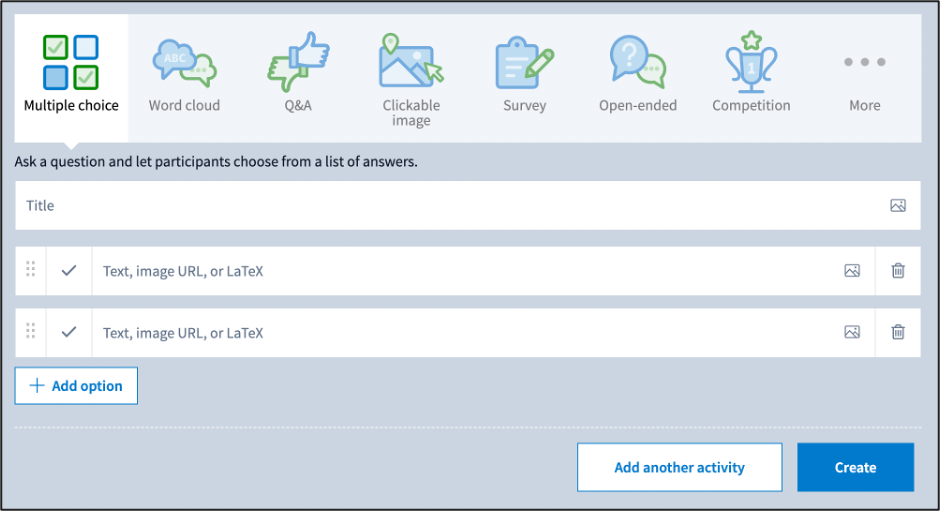
Creating Poll Everywhere Activities
Once you have linked your Poll Everywhere account to your Brightspace course and synced your class roster, you can begin creating Poll Everywhere activities.
You can create the following activity types in Poll Everywhere:
Create a New Poll Everywhere Activity |
|
Once you have created your Poll Everywhere activity, you can restrict your activity to registered participants so that only students who are registered to your course roster can participate. |
Restrict your Poll Everywhere Activity to Registered Participants |
|
Once you have created a poll everywhere activity, you can restrict the activity so that only students who are registered to your course roster in Poll Everywhere can participate.
|

Present the Activity in Poll Everywhere During your Class. |
| See How to Present a Poll from the Web for instructions. |
Edit a Poll Everywhere Activity |
|
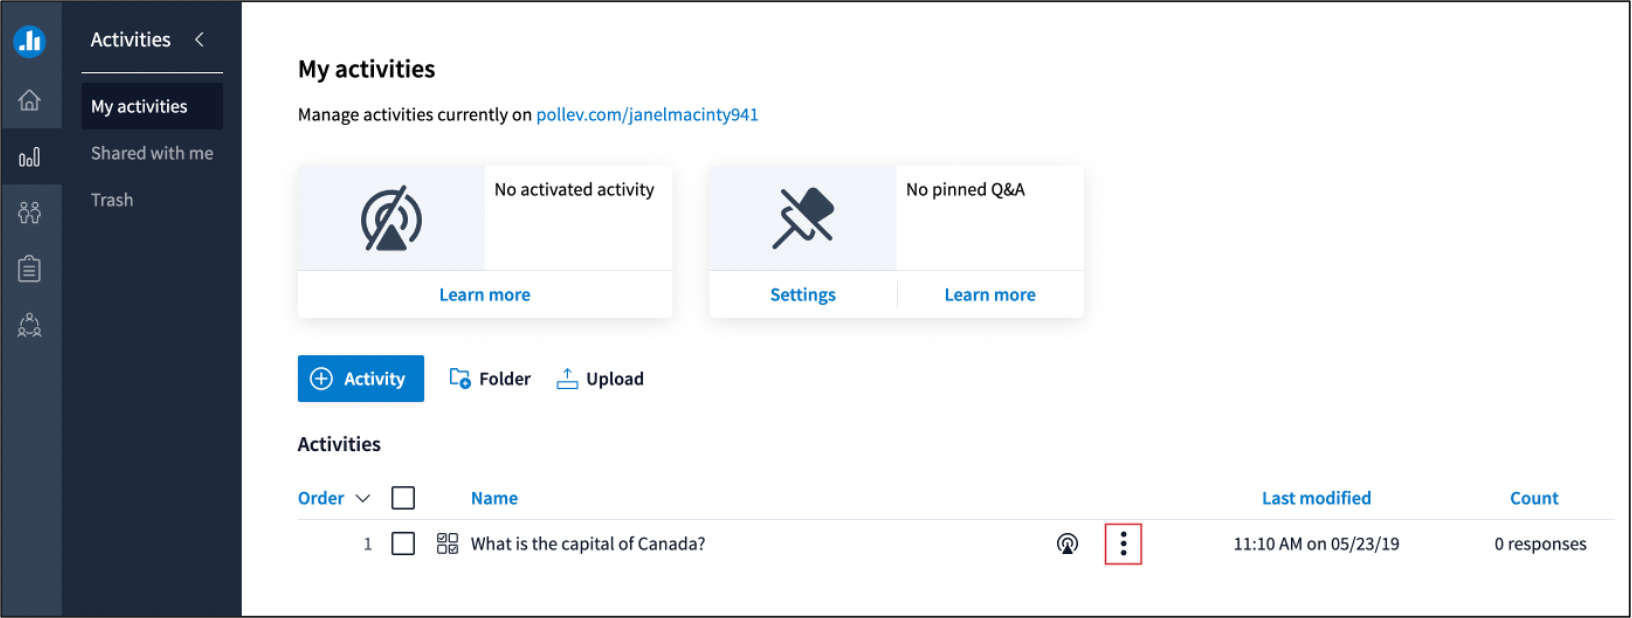
Grading Poll Everywhere Activities
Once students have responded to your Poll, you can create a gradebook report for your Poll Everywhere activities and export the participation data/grades to your course gradebook in Brightspace. You can then create a grade category to group and sort your Poll Everywhere grade items in your gradebook.
- Create a Gradebook Report in Poll Everywhere
- Export a Poll Everywhere Gradebook Report to Brightspace
- Create a Grade Category
- Move Poll Everywhere Grade Items to a Grade Category in Brightspace
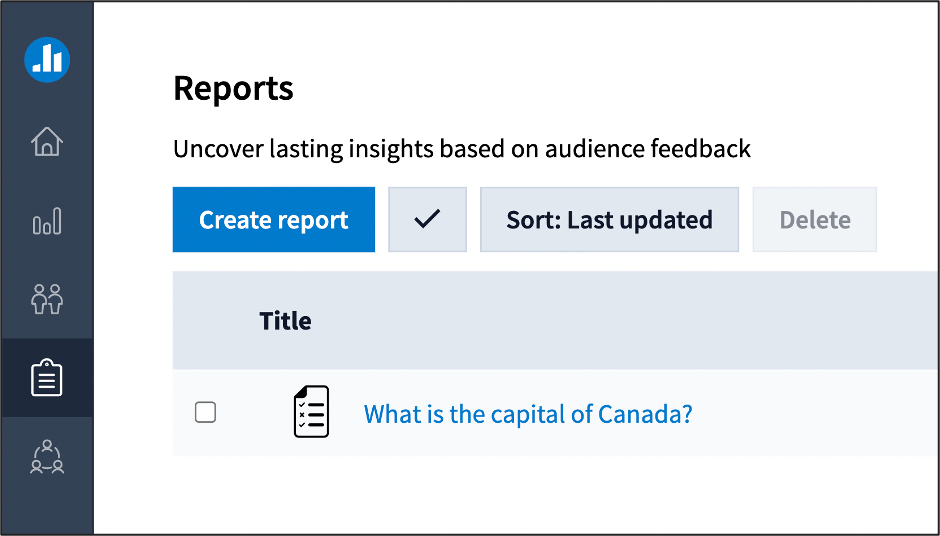
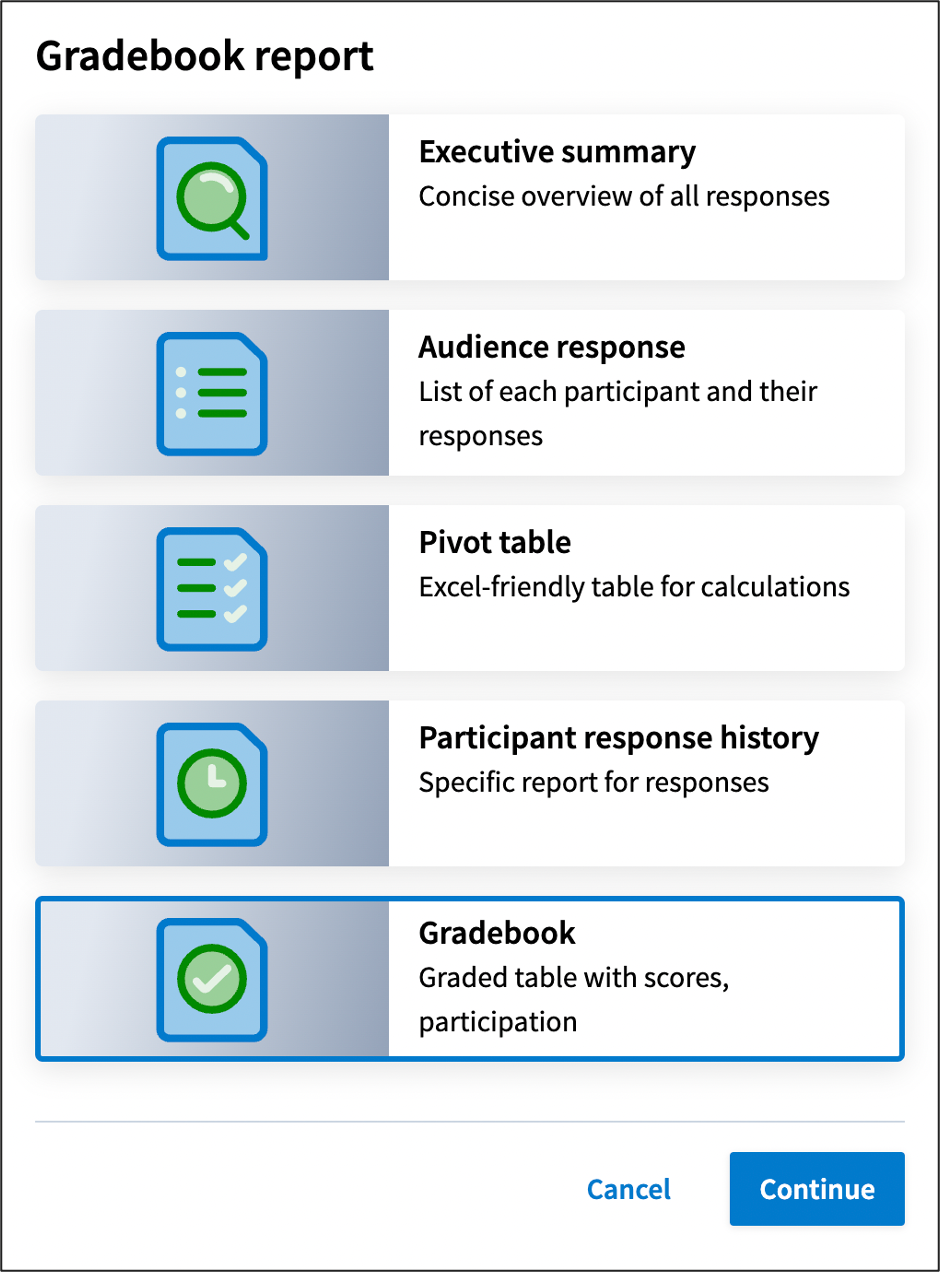
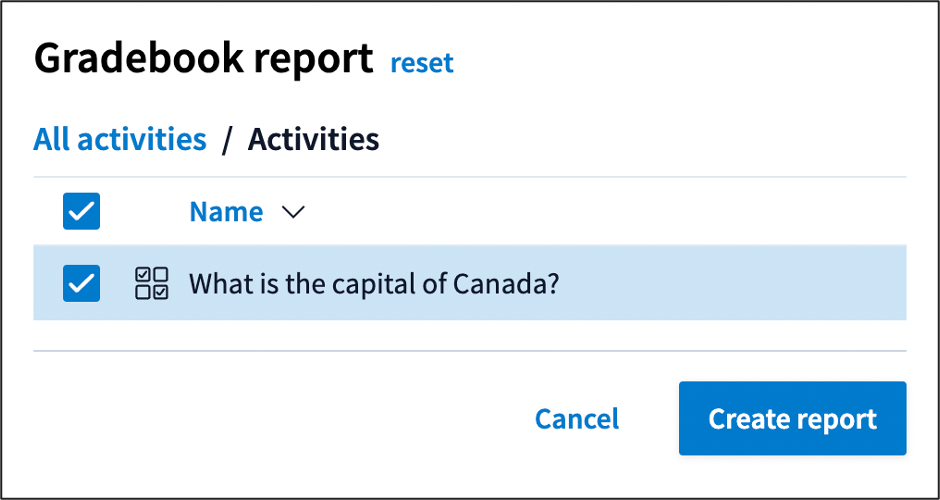
Create a Gradebook Report in Poll Everywhere |
|
You have now created a Poll Everywhere Report. In order to sync the grades with your Brightspace course, you will need to export the report to Brightspace. |
Export a Poll Everywhere Gradebook Report to Brightspace |
Export a gradebook report to Brightspace to create a grade item for your Poll Everywhere activity.
Poll Everywhere will send the grades or participation to your gradebook in your Brightspace course. It will appear as a new grade item with the exported grades or participation added. Your report will have the same title as your activity and that will be the title of the grade item that is exported to Brightspace. You can change that title to reflect the grade item title you want in your gradebook, e.g. the date you are taking attendance. |
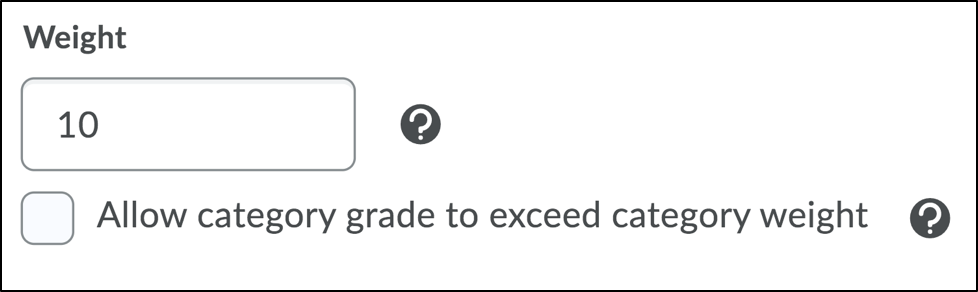
Create a Grade Category |
||
Create a grade category to group your Poll Everywhere grade items
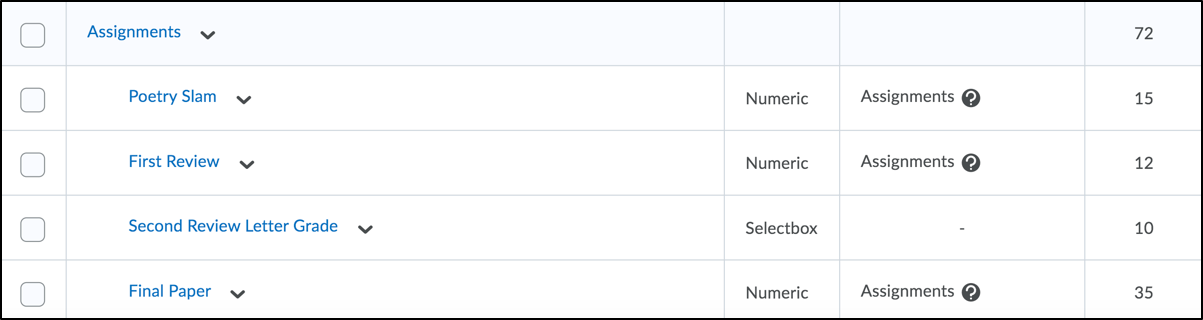
Your grade category will now appear in blue under the “Manage Grades” tab of your gradebook (see example of an “Assignments” grade category below. |


Move Poll Everywhere Grade Items to a Grade Category in Brightspace |
Once you have created a grade category, you can move the Poll Everywhere grade items into the category.
Your new Poll Everywhere activities will now appear below on the Manage Grades page. |

Embedding Poll Everywhere Activities in Brightspace using Embed Scripts
- Log in to Poll Everywhere using your MyCarletonOne username (@cunet email) and password.
- Click Activities
 in the sidebar.
 - Click on the name of the Activity you wish to embed.
- On the right panel, click on Send.
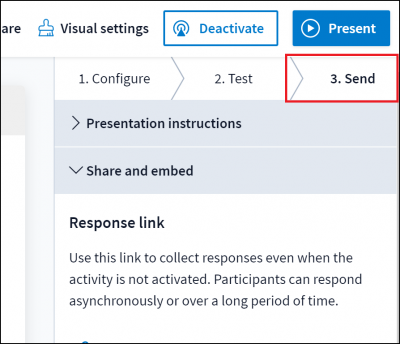
- Select Share and embed.

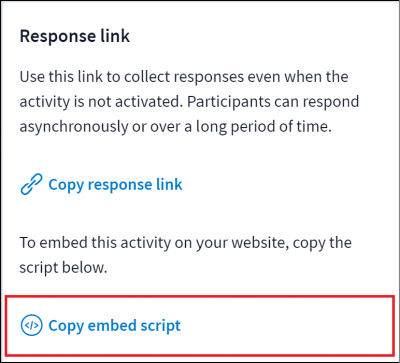
- Click Copy the embed script.
- Log in to Brightspace using your MyCarletonOne credentials.
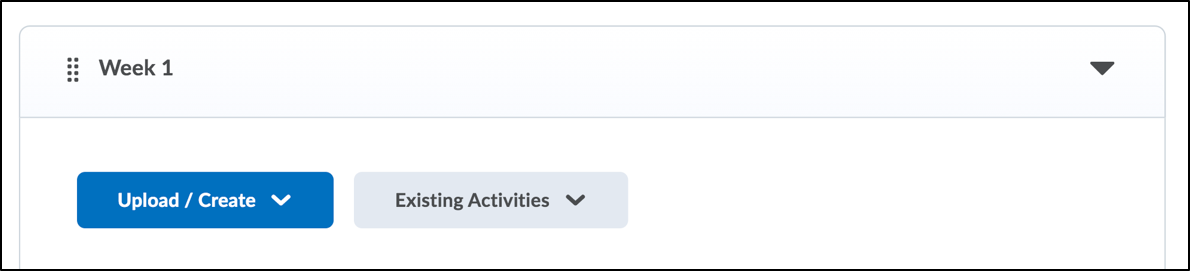
- Go to your course and create a submodule.
- Click on the new module you just created from the left panel. You will then be able to edit the module description.
- Click on Add description to open the html editor.
- Click on the Add stuff icon in the editor and select Enter Embed Code.
- Paste the code into the field and make sure to click Allow when prompted.
- Click Next to preview the activity.
- Click Insert.
- Click Update at the bottom of the screen.
Your students will now be able to participate in the poll directly from the sub-module in Brightspace.
NOTE: Make sure you embed a different code for each poll. If you paste the same code, the grades or participation credit will update a pre-existing grade item rather than creating a new one.
Embedding Poll Everywhere Activities in Brightspace using Response Links
- Log in to Brightspace using your MyCarletonOne credentials.
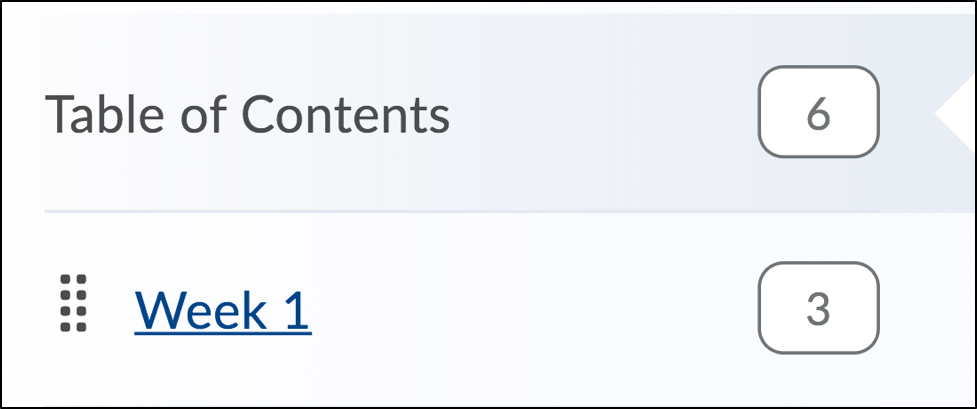
- In your course, create a submodule for each week you want students to respond to the poll.
- Click on the module you created from the left panel in the table of contents
- Click on the field add a description underneath the title of the module and add a description for this module/activity.
- Log in to Poll Everywhere using your MyCarletonOne username (@cunet email) and password.
- Click Activities in the sidebar.
- Click on the name of the Activity you wish to embed.
- On the right panel, click on Send.
- Select Share and Embed.
- Click on Copy Response Link.
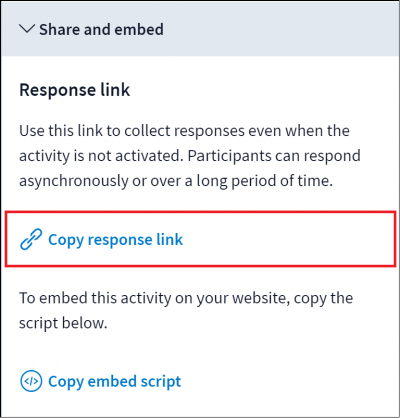 This link will allow you to collect responses even when the activity is not activated. Students can respond asynchronously as long as the module is visible.
 - Return to the Brightspace Module you created.
- Click on the description field of the module.
- Paste the response link.
Students will now be able to click on the link to respond to the poll at any time, until you remove or update the response link. They can use the link to respond at any time, until you remove or change the response link.
TIP: For future polls, you can follow the same process, and copy the new response link after deleting the old one.
FAQ
Need Help Using Poll Everywhere?
- For support using Poll Everywhere: contact support@polleverywhere.com or visit the Poll Everywhere Support Centre
 |
Poll Everywhere Contact Information
|
- For support using Poll Everywhere in Brightspace or integrating polling into your classes: visit the TLS Support Portal and enter a support request.
 |
Teaching and Learning Services Contact Information
***Office Hours: Monday to Friday, 8:30-4:30 ***
|
Was this page helpful?
no one has found this useful yet.
Still need help? Contact us